Even with all the preparation and research we do for recipes, even then we sometimes still underestimate the journey ahead.
For these Belgian waffles (technically gaufres liegeoises), this proved to be exactly the case. These gaufres were intricate, confusing-but-still-manageable recipe that kept us on our toes the entire time.
And still, we forged on, and the taste in the end made the entire journey well worth it.

The Complex History of Belgian Waffles
Growing up in the US, we both had associated Belgian cuisine with waffles. Over time, we’ve been in Belgium enough times to really discover more commonly traditional Belgian dishes, such as moules frites and waterzooi. Despite knowing better, the association of Belgian waffles to Belgian cuisine has stubbornly reigned supreme in both of our minds.
You can thus understand our confusion when we ultimately learned that the Belgian waffle might not be so Belgian after all.
First, a Quick History of the Waffle
Before diving deeper into this waffling conundrum, it is first helpful to understand from where the waffle originated.
The waffle in its earliest forms has been around since the earliest periods of man. There is good reason to believe that our ancestors from the Neolithic era would cook a cake made of cereal grains on a hot stone prior to consumption. Fast forward to the times of the Ancient Greeks, who would cook these cakes between two piping hot molded iron plates. Fast forward yet another millenium as a blacksmith in the 13th century somewhere in the world developed iron pans in the mold of a honeycomb shape – presumably because he was a fan of bees – and you get closer and closer to the modern day waffle.
As we continue our “speedy zoom through humanity,” we come to Belgium towards the end of the Middle Ages. At this point, the waffle has become popular in use by the church for various celebrations and Saint’s days. On these particular days, individual vendors were allowed to sell their own waffle masterpieces (most made from a batter mix of barley and oat). Because these waffles were so popular with the people, however, King Charles IX issued a famous decree sometime in the latter 1500s that waffle vendors could not set up stalls within 4 meters of one another.
Indeed, the “waffle-mania” had gotten to the point that the King got involved.
The Two Types of Gaufres
Even if our prior conception of the “Belgian waffle” had proved to be a hoax (more on that later), there is, in fact, an ongoing debate within Belgium about waffles.
More specifically, there are two types of waffles – or gaufres – over which people argue. There’s the gaufres bruxelleoises, or the waffles from Belgium, and the gaufres Liegeoises, or those from the town of Liege.
While they might both be considered “Belgian waffles,” the similarities between the two stop there. Gaufres Bruxelleoises continued down a similar evolutionary trajectory relative to its waffly ancestors before being formally transcribed into an 1874 cookbook by Phillippe Caudelier. From then, the large, light colored and rectangular waffle became formally known as the gaufre bruxelleoise.
The Gaufre Liegeoise
The gaufre liegeoise, on the other hand, more deliberately deviated from the rest of the waffle pack. Per the request of an 18th century Prince Bishop of Liege to create a waffle that was “both sweet and savory,” his head chef sought out to reinvent the waffle.
Adapting a dough from traditional brioche bread dough, the chef created a dough that was contradictorily denser and richer while still chewier. More importantly was his introduction of pearl sugar chunks, which caramelize into the waffle’s exterior as it bakes. What results is an added sweetness and crunch to each bite.
Depending on who you ask in Belgium, you’ll find ardent proponents for both the bruxelleoise and the liegeoise. Both are equally ubiquitous throughout Belgium nowadays, and both are really… really tasty.
But alas, neither type of waffle was what we Americans first encountered as a “Belgian waffle.”
The “Bel-Gem” Waffle
What few don’t realize is that the “Belgian waffle” first made its debut in America under fairly auspicious, borderline fraudulent circumstances.
At the 1962 World’s Fair in Seattle, a “Belgian” entrepreneur by the name of Walter Cleyman claimed to have traveled across the world to bring a more exotic waffle to the sophisticated palates of America. His waffles were a success, even drawing accolades from the Spokane Daily Chronicle, and Cleyman profited greatly… before disappearing and never being heard from again.
Eventually, the true gaufre bruxelleoise did make it to America thanks to true Belgian Maurice Vermersch and his Bel-Gem brand. Introducing the true gaufre bruxelleoise at the 1964 World’s Fair in Queens, the true Belgian waffle was a smash hit on account of its lighter airier (yeast-caused) texture.
About the Recipe
Since the gaufre liegeoise missed on some of the initial fanfare, we thought to focus our efforts on making that particular recipe. We knew that we’d have to be in it for the long haul, but it was a commitment we were ready to make.
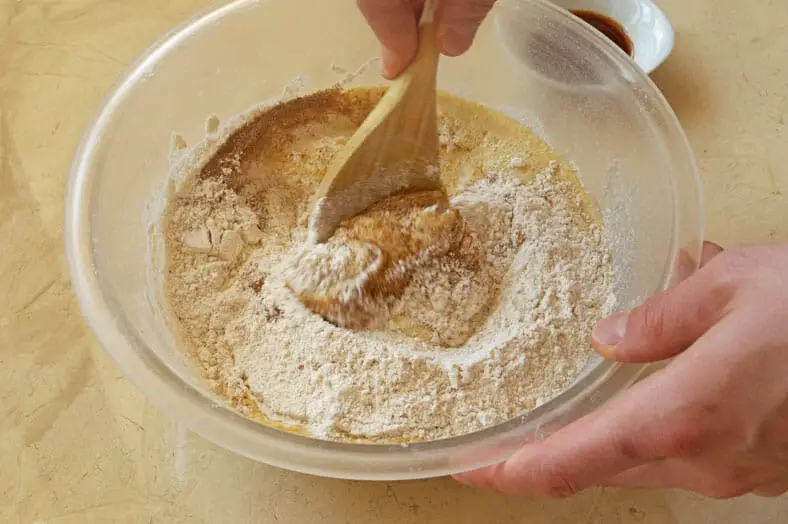
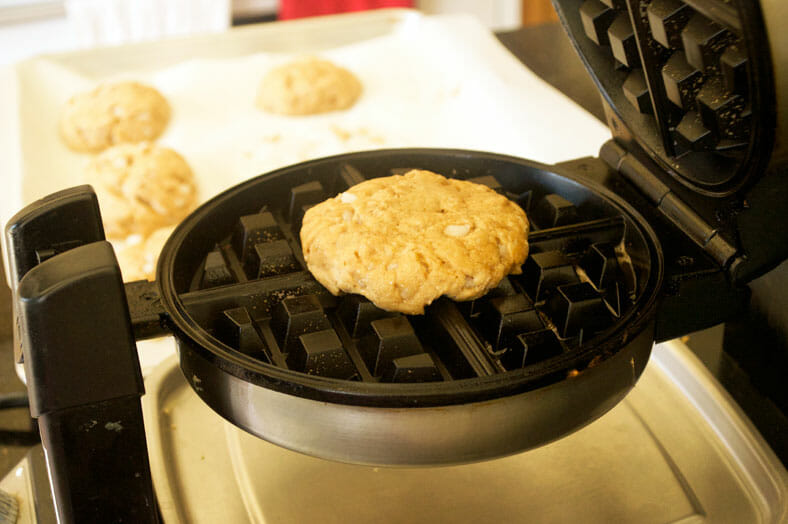
Preparing a gaufre liegeoise contradicts everything we had previously encountered with other waffle recipes. For one, the batter will ultimately be incredibly firm – not runny – when it goes into the waffle iron.
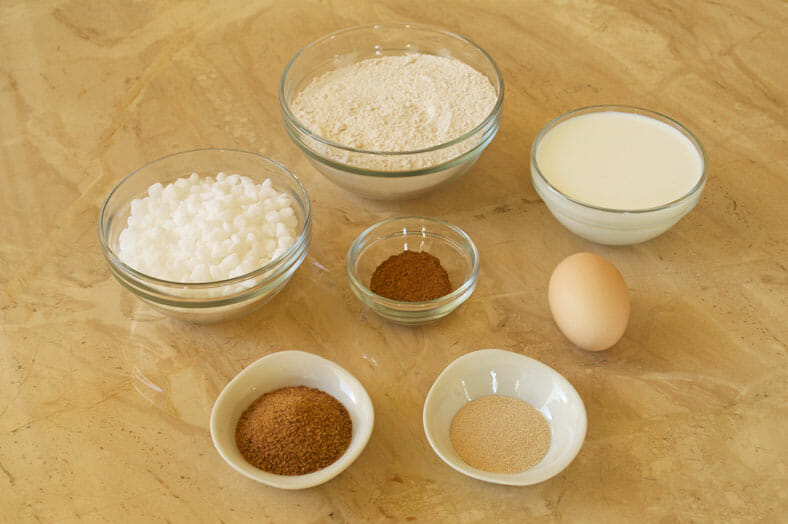
To get it to that point, you first start by activating some dry active yeast in warm milk. Once the yeast is active, you add a small portion of flour into the milk mixture for the yeast to feast on. The remaining flour, however, is sprinkled on top but is not mixed in. Here, you cover and set aside your waffle batter, and the yeast will gradually consume and engulf the unmixed flour.
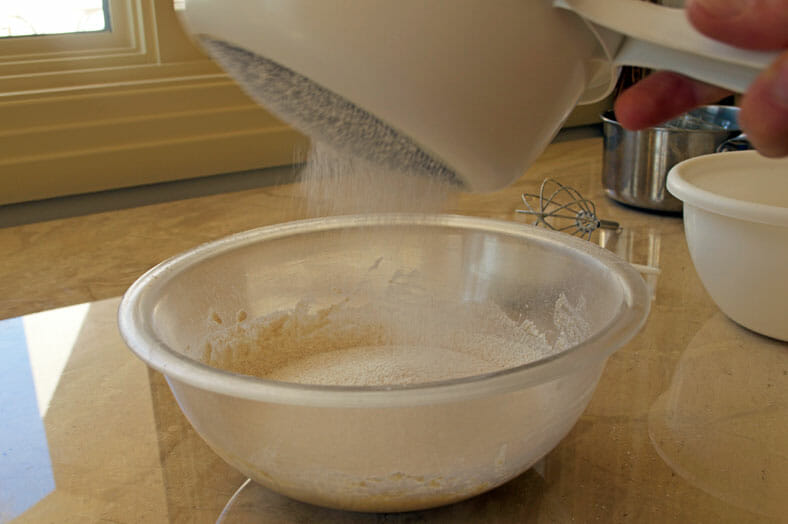
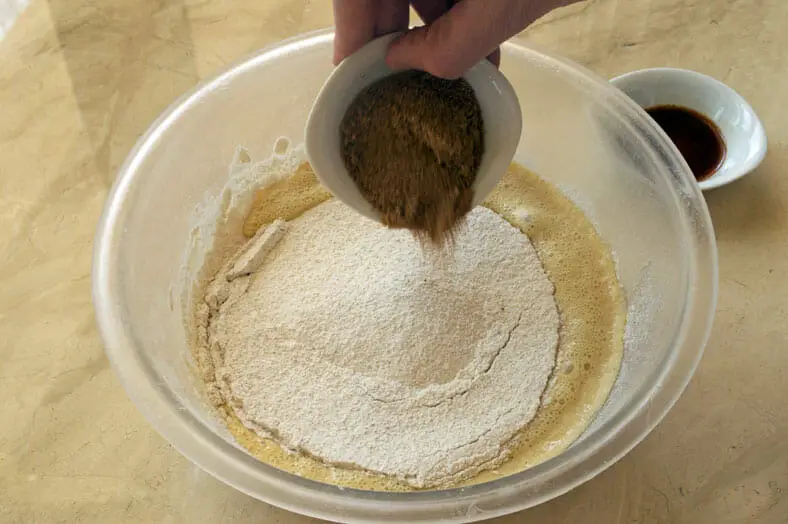
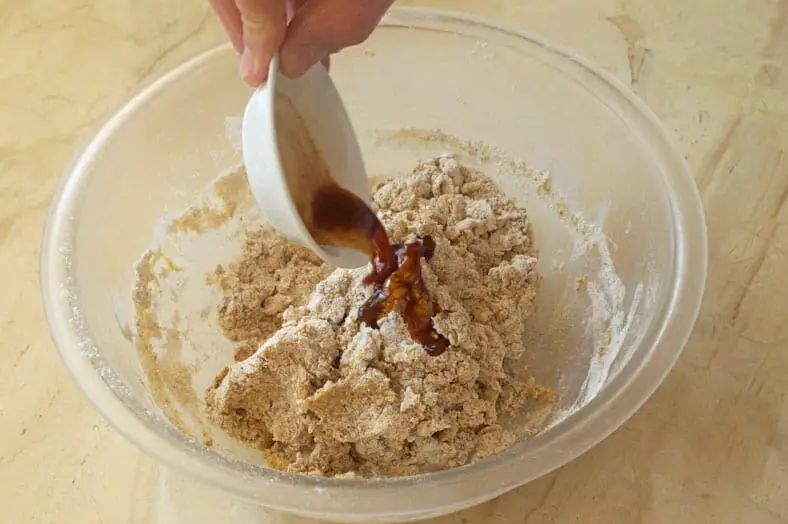
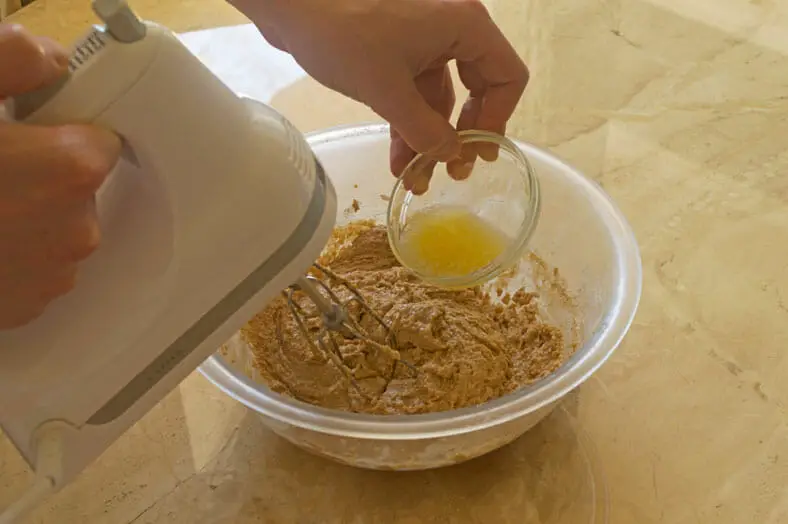
From there, you add any remaining ingredients and mix everything together into a batter that comes out as incredibly sticky. The stickiness comes from letting your yeast pre-create some gluten prior to actually letting the full batter rise.
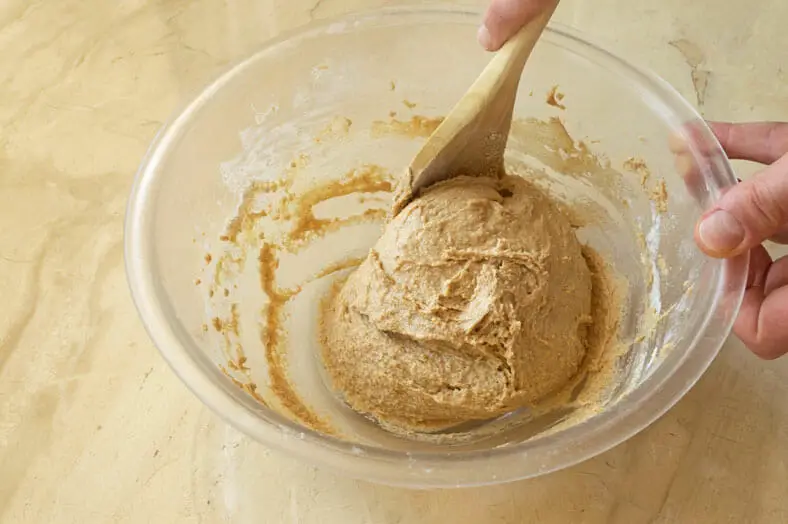
Here, you’ll cover your dough and again set it aside to let it rise. You’ll want to let it stand at room temperature for at least 4 hours before at least 30 minutes in the fridge. By this point, the yeast needs to be slowed down from its “mass flour consumption” campaign.
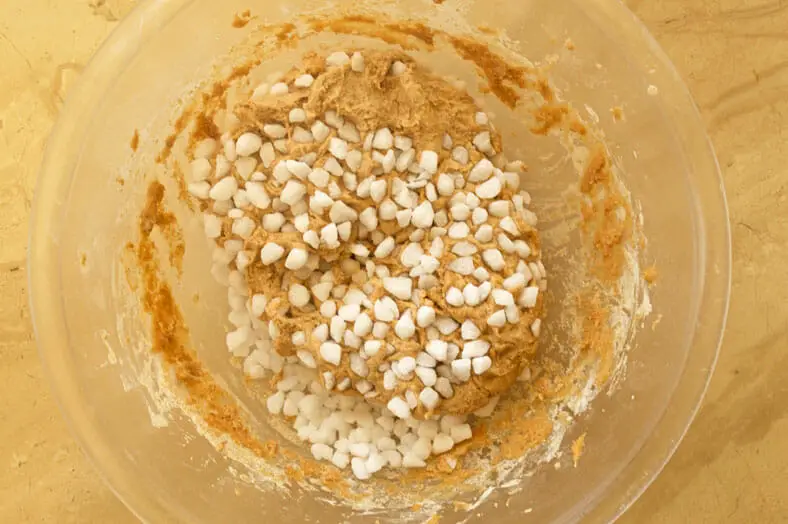
The next phase involves introducing the key ingredient to the gaufre liegeoise: the pearl sugar. Once your dough has cooled down and slightly hardened, you will introduce the pearl sugar into your dough and mix it through with your hands.

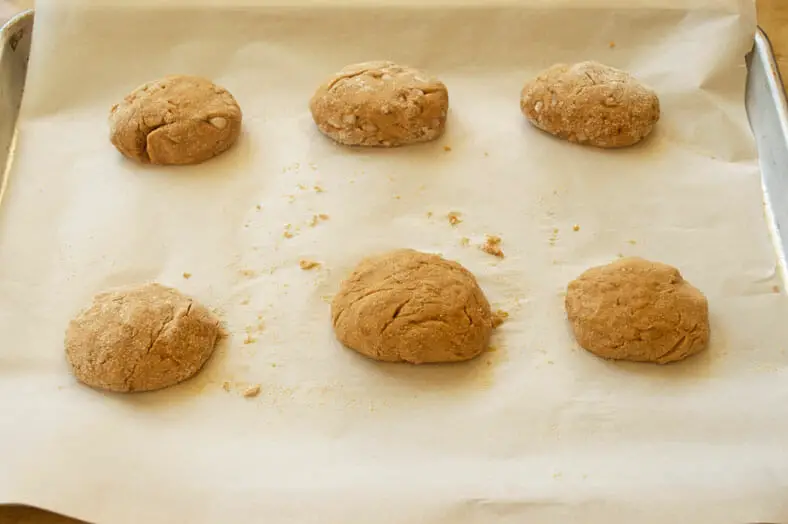
You’ll finally have your finalized dough to make these delectable waffles, but yet again you’ll want to set it aside at room temperature to let the yeast resume its activities.

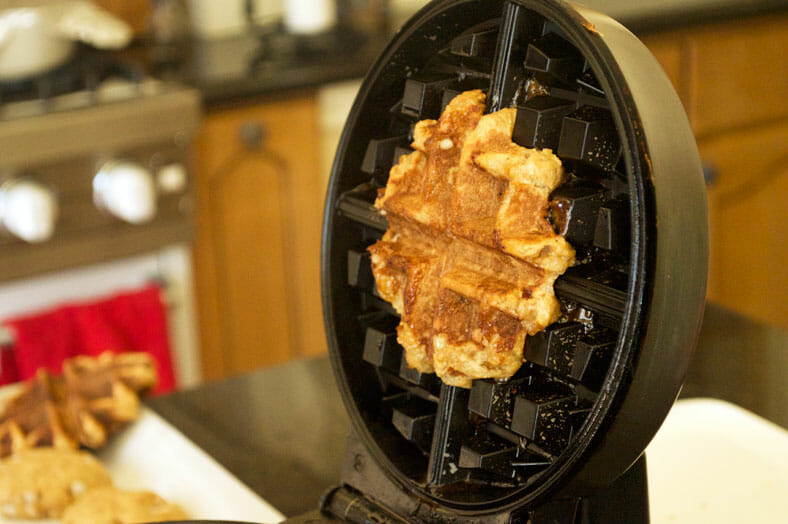
Finally, after all of this, your pieces of dough are ready to go. Pop them into your waffle iron at around 350 degrees Fahrenheit (or a medium-high setting on your iron) and cook for a few minutes on each side. At this point, the pearl sugar will melt and caramelize on the outside of the waffle, so the final product should be hard to the touch when it’s time to take it out.
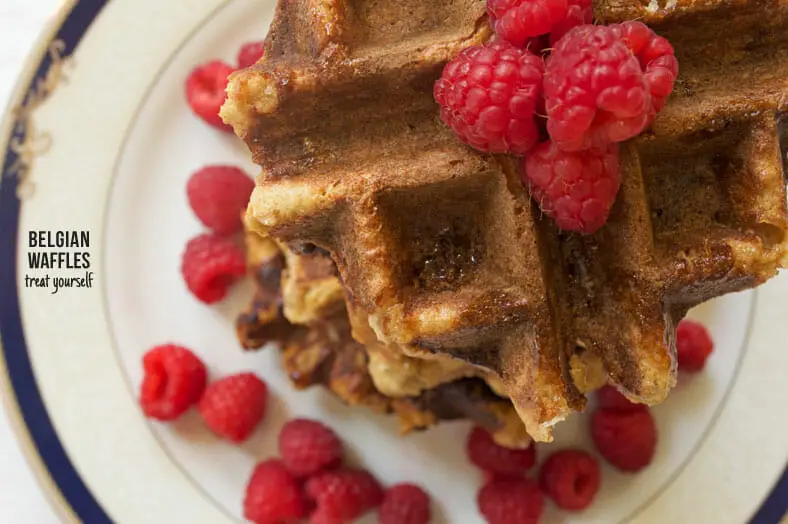
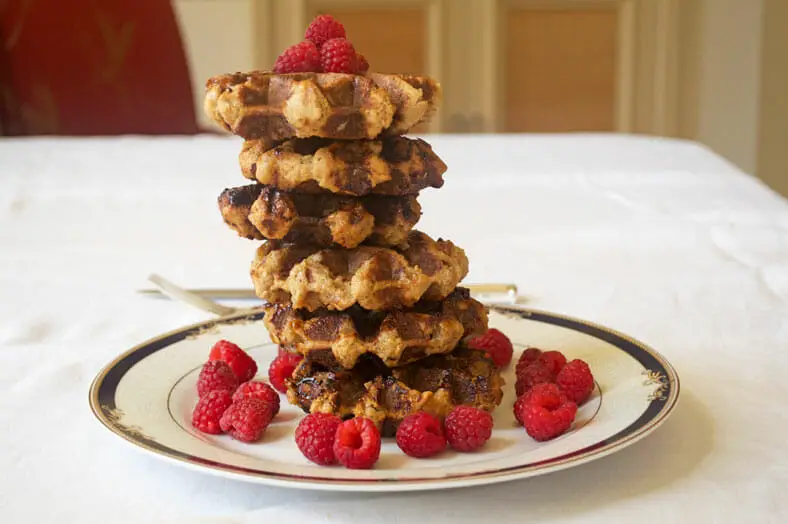
By now, you’ve earned a bite of this delicious waffly morsel. You can either eat the waffle with no toppings at all – it will be sweet enough as is – or you can add a light dusting of powdered sugar and fruits if you so desire. Whatever you do, though, no syrup!
Our Take on the Recipe
We were very careful to make adjustments to this recipe for two reasons. First, our original reference recipe comes from a site called Liege Waffle, so they clearly have some expertise in the matter. Next, the recipe has so many various intricacies to it, that we didn’t want to rock the boat all too much and disrupt an already functional formula.
But then again, we’re tinkerers at heart, so we did make a few changes still.
For one, we had to make some health-oriented changes. We swapped out regular sugar for coconut sugar, omitted the honey, and cut the recommended butter by 1/3. Thankfully, none of these changes had any adverse effect on the waffle. In fact, we actually found the taste of the scaled back recipe to have a more sweet/savory balance… which we hope might have made the original Prince Bishop de Liege proud.
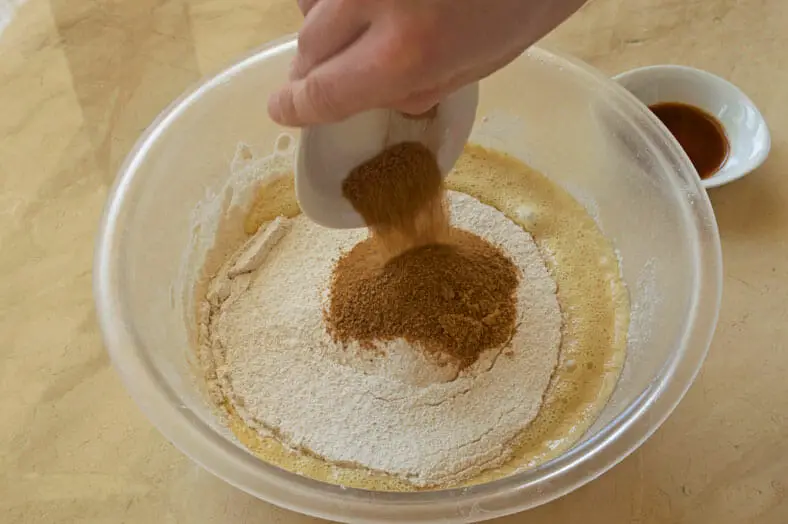
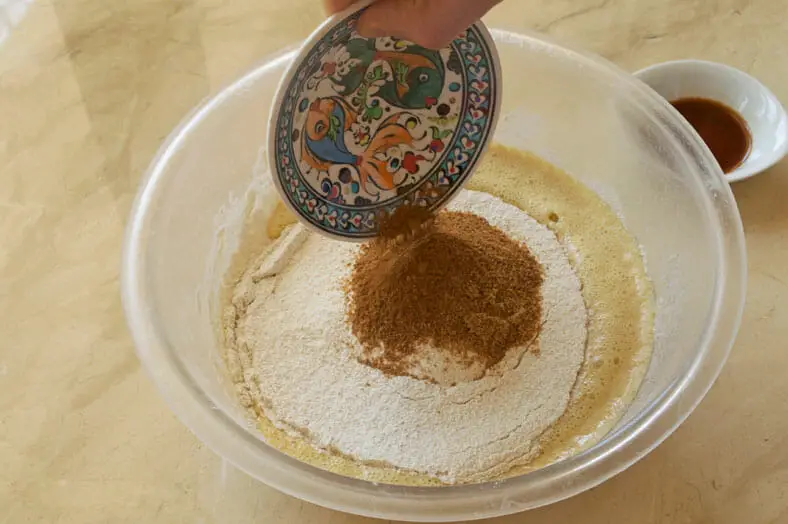
For extra flavor, we added a tough of cinnamon, and we swapped the suggested bread flour for a lighter pastry flour (and one of our personal favorites) in this recipe. These were small changes all the same, but they were more attuned to our preferred ingredients.
Other than that, there is not much else that we wanted – or felt comfortable – to adjust, and it didn’t really matter.
While it was a long journey from start to finish, to be able to taste a true gaufre liegeoise was completely worth it.
Enjoy!
Have you tried making gaufres liegeoises before? Comment below!
Well this was what I needed this Monday morning- A lesson in waffles! Thanks Cyrus! While I haven’t personally made gaufres Liegeoise’ before, the extra time looks worth it!
Don’t we all need a Monday morning lesson in waffles, Arman? 🙂
And yes, the time needed for the liegeoise is totally worth it. Just be well-prepared for the ride ahead
We went to Belgium a couple of years ago so I had my taste of authentic Belgian waffles there and they were amazing! These are the only real ‘waffles’ and your delicious and perfect waffles are inspiring me to make them at home! 🙂
That’s awesome to hear, Manila Spoon! It’s quite the journey to make these types of waffles at home, but it’s definitely well worth it in the end 🙂
Oh my goodness! I am a waffle-fiend, but have to admit that I’d rather have a stack of yours than try these. You were brave souls to attempt them. (I guess my penchant for non-yeasted bread and cakes is showing through – I’m so impatient.) In any event, they look fabulous and I loved the history lesson.
Generally, we’re in the same boat vis-a-vis yeast impatience, Laura. This time around, we decided to stick it out for the greater good of the waffle though 🙂
What a great post! Love that you added the history of the waffles! Made me nostalgic from my time in Belgium!
Thanks Jessica! Hopefully we were able to get close to the method/taste of the waffles too? What are your thoughts based on the experience?
#TreatYoSelf
You know it, Erin 🙂