All of our recipes, find something you love!
TREATS AND SWEETS
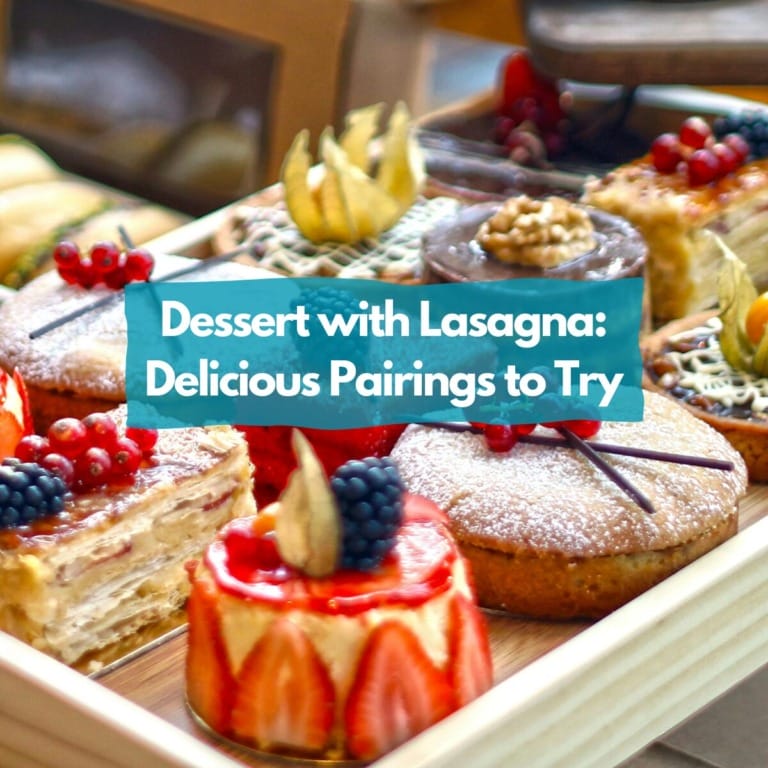
Dessert with Lasagna: Delicious Pairings to Try
Wondering what dessert to pair with lasagna? Discover the perfect sweet treat to complement your meal, from traditional Italian desserts like tiramisu and panna cotta to rich chocolate delights and refreshing fruit-based options. Explore these delicious choices for the ideal dessert with lasagna.
Continue Reading Dessert with Lasagna: Delicious Pairings to Try
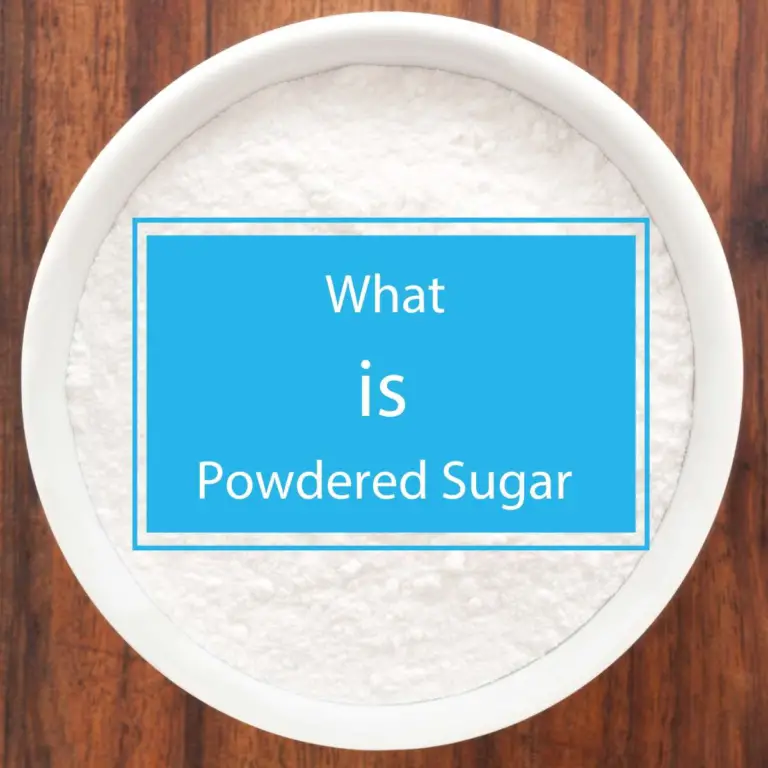
What is Powdered Sugar – Sweeten Up Your Kitchen!
Curious about the magic behind confectioners’ favorite? “What is powdered sugar” unveils the sweet secret that transforms your treats. Elevate your baking game with this kitchen essential, bringing a dusting of sweetness to your favorite recipes!
Continue Reading What is Powdered Sugar – Sweeten Up Your Kitchen!
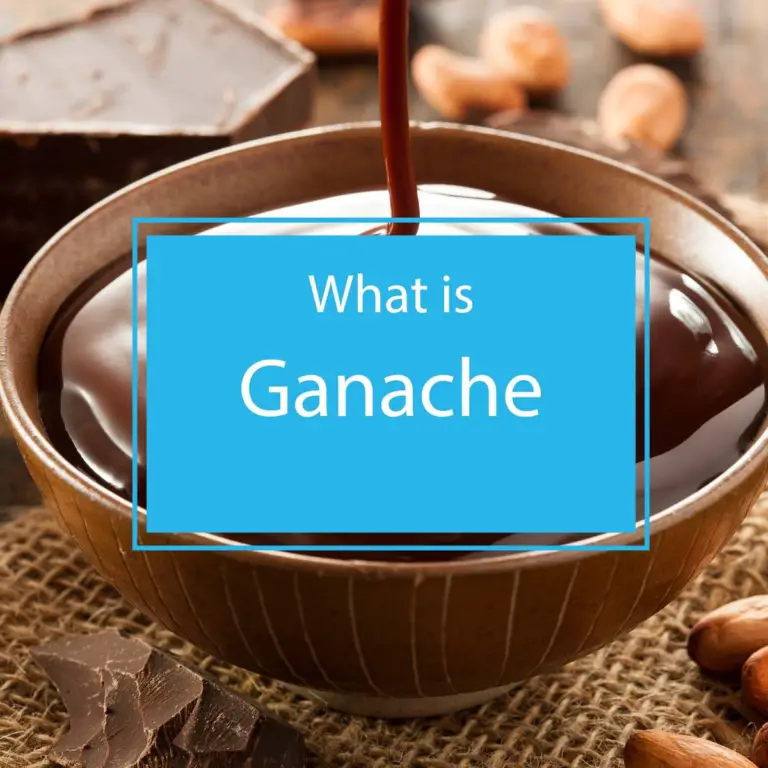
What is Ganache? Your Sweet Guide
Curious about the sweet side of indulgence? Explore the delectable world of desserts with “What is Ganache.” This friendly guide demystifies the velvety goodness of ganache, revealing its perfect blend of rich chocolate and smooth cream. Join us on a delightful journey and uncover the magic behind this luscious confectionery delight.
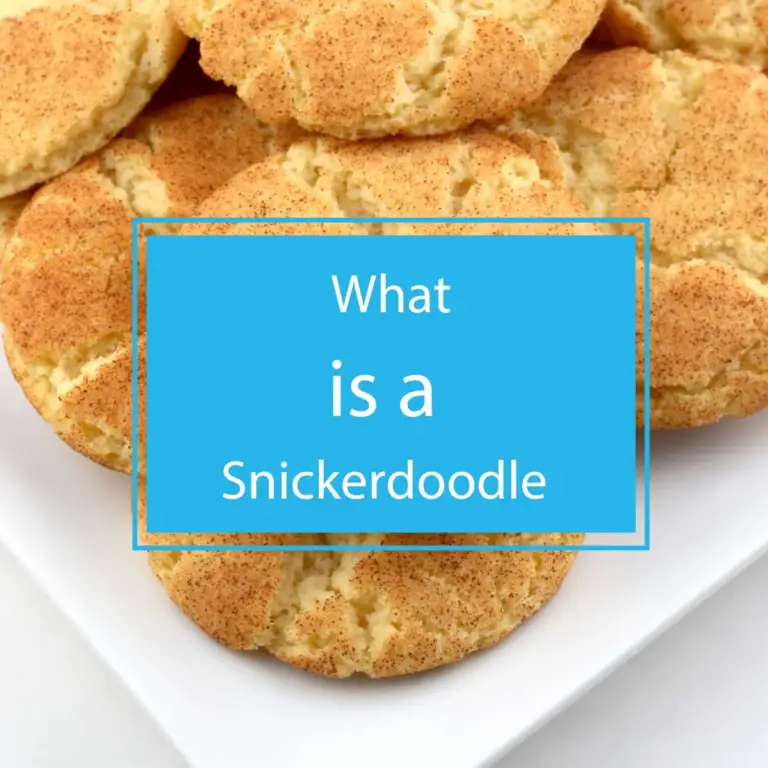
What is a Snickerdoodle: A Delicious Classic Treat
What is a Snickerdoodle, you ask? Well, meet Snickerdoodles – the ultimate cinnamon-sugar goodness in cookie form! Soft, sweet, and totally addictive, these treats are like a warm hug for your taste buds. They’re the go-to classic for that instant sweet, comforting fix!
Continue Reading What is a Snickerdoodle: A Delicious Classic Treat

Delights in Whipped Cream: What Is Chantilly Cream?
What Is Chantilly Cream?’ Well, it’s this fantastic, fluffy delight made with cream, sugar, and a hint of vanilla. This magical topping takes desserts to a whole new level of yumminess! It’s like a sweet, airy cloud that makes every bite a delightful treat!
Continue Reading Delights in Whipped Cream: What Is Chantilly Cream?
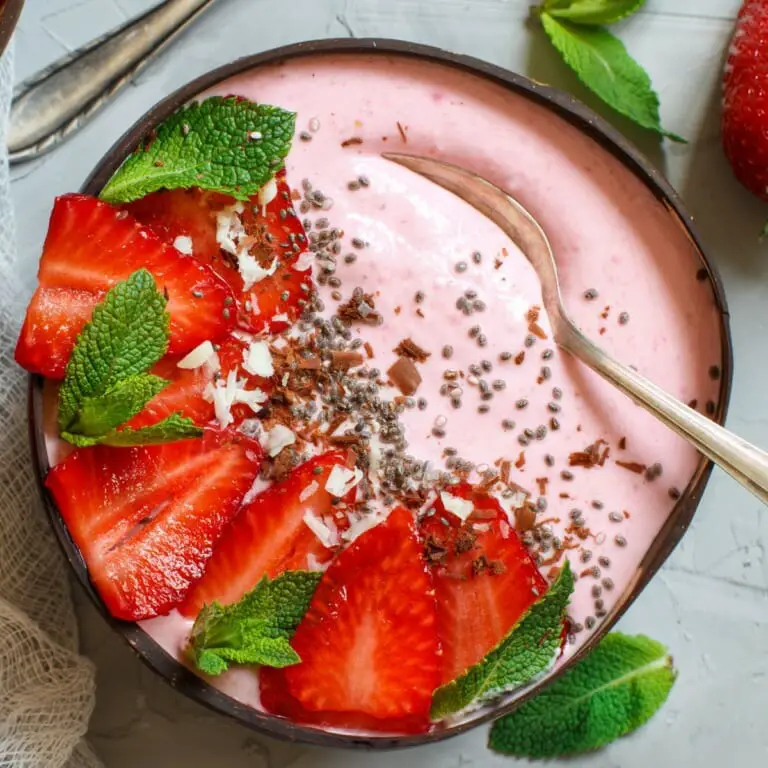
How to Make the Most Splendid Smoothie Bowl Without Banana
Smoothie bowls can be healthy, but they can contain as much sugar as a couple glazed donuts. That’s one reason why some prefer their smoothie bowl without banana.
Continue Reading How to Make the Most Splendid Smoothie Bowl Without Banana
APPETIZERS, SMALL PLATE PLATES, AND SNACKS
What is a Snickerdoodle: A Delicious Classic Treat
What is a Snickerdoodle, you ask? Well, meet Snickerdoodles – the ultimate cinnamon-sugar goodness in cookie form! Soft, sweet, and totally addictive, these treats are like a warm hug for your taste buds. They’re the go-to classic for that instant sweet, comforting fix!
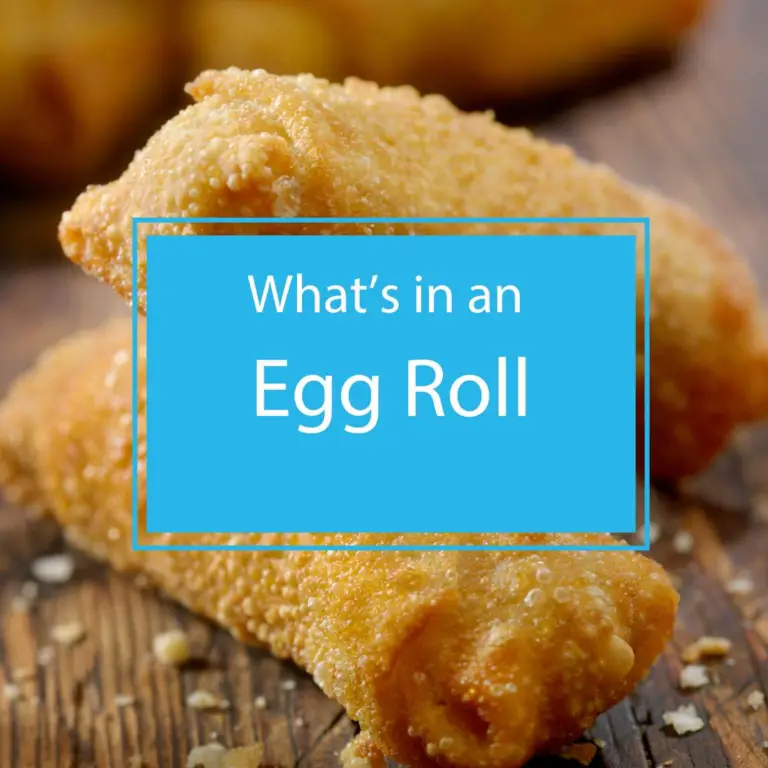
Cracking the Mystery of What’s in an Egg Roll – Unveiling Tasty Secrets!
Crunchy and flavorful, egg rolls are a beloved snack enjoyed worldwide. With their golden-brown exterior and delicious fillings, egg rolls offer a delightful culinary adventure in every bite. Whether enjoyed as an appetizer or a quick snack on the go, egg rolls are sure to satisfy cravings with their irresistible blend of savory ingredients.
See More Cracking the Mystery of What’s in an Egg Roll – Unveiling Tasty Secrets!
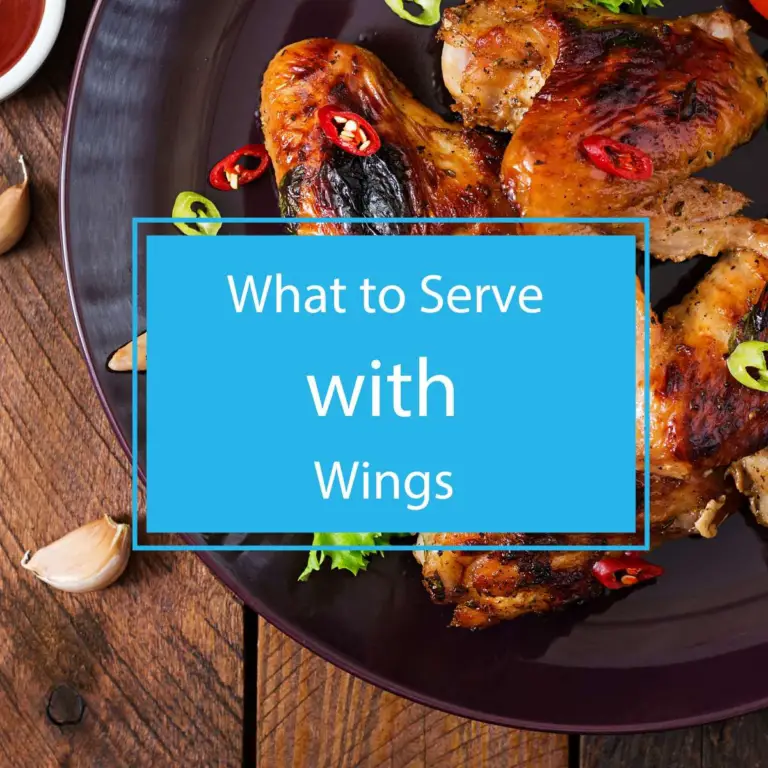
What to Serve with Wings: Ideal Matches
Curious about what to serve with wings? Elevate your game day with the perfect sides, sauces, and dips that’ll have everyone asking, “What to serve with wings?” transforming your meal into a taste bud-tingling experience!
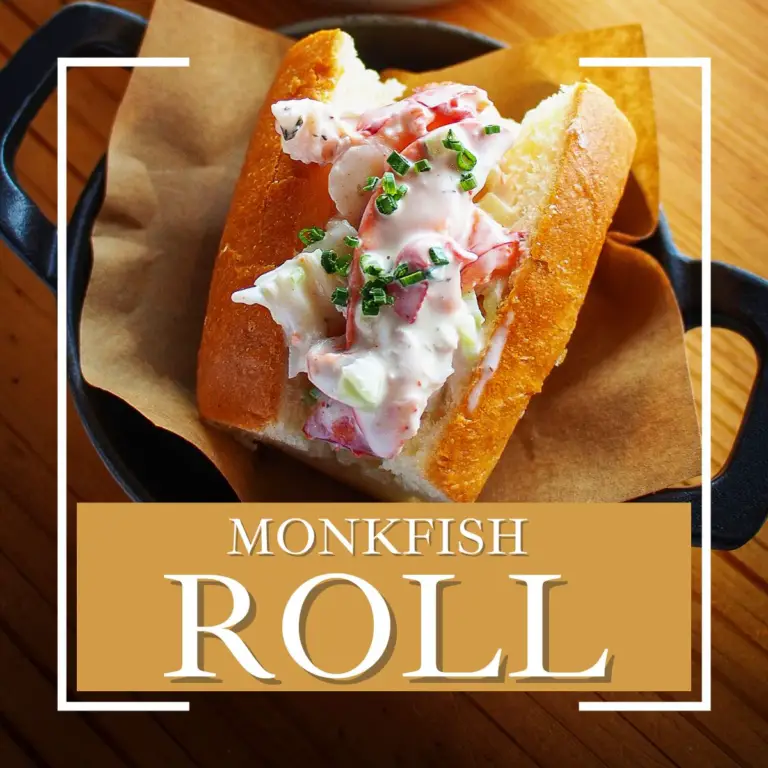
Best Monkfish “Lobster” Roll Recipe from Sandwich Experts
Monkfish is similar to lobster in flavor and texture, making it an ideal substitute. Get creative with our Monkfish “lobster” roll today!
See More Best Monkfish “Lobster” Roll Recipe from Sandwich Experts
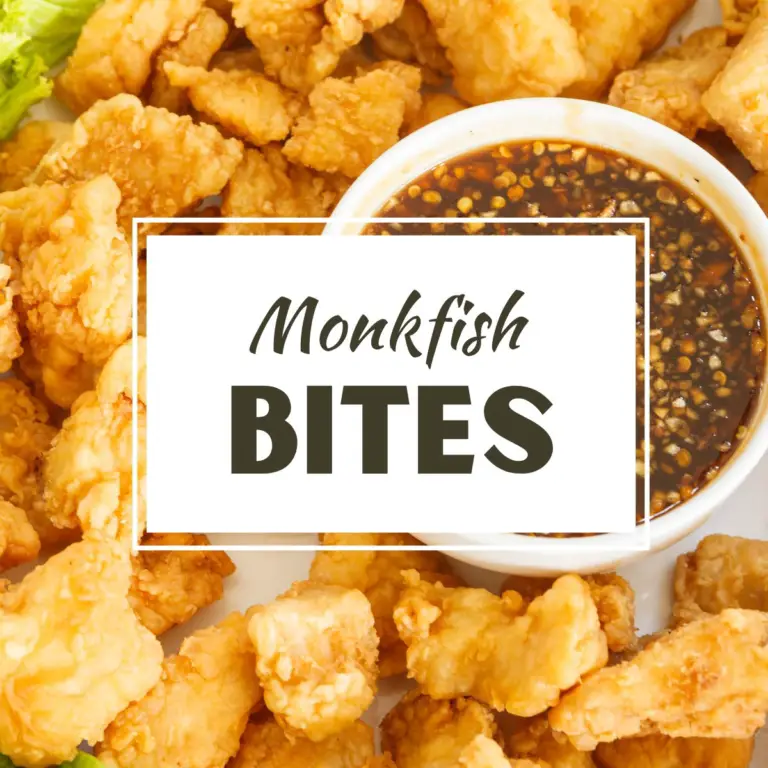
Quick Monkfish Bites Recipe – Easy and Delicious!
This monkfish bites recipe is fast and easy, but so delicious! Great for a snack or a main dish.
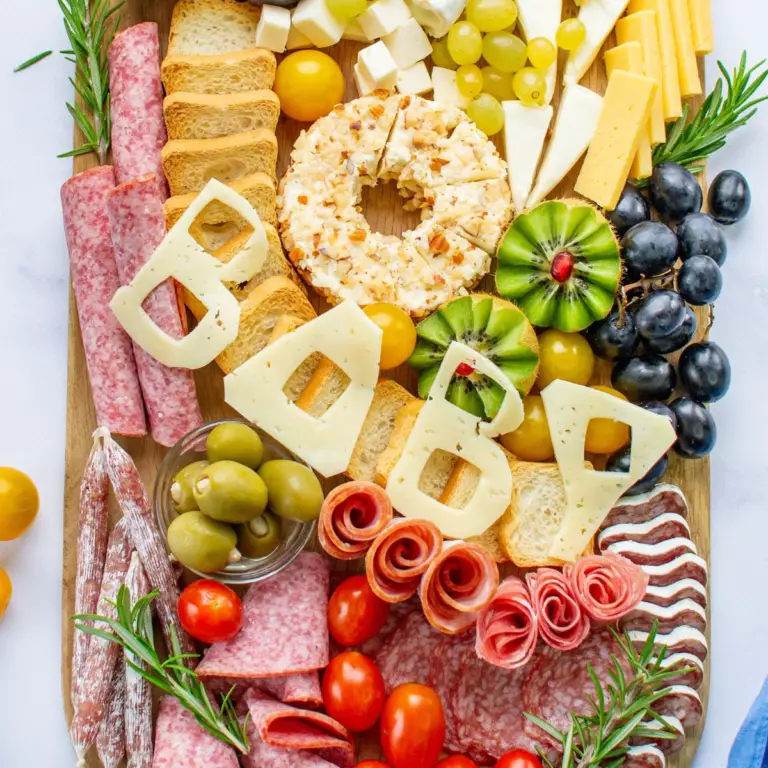
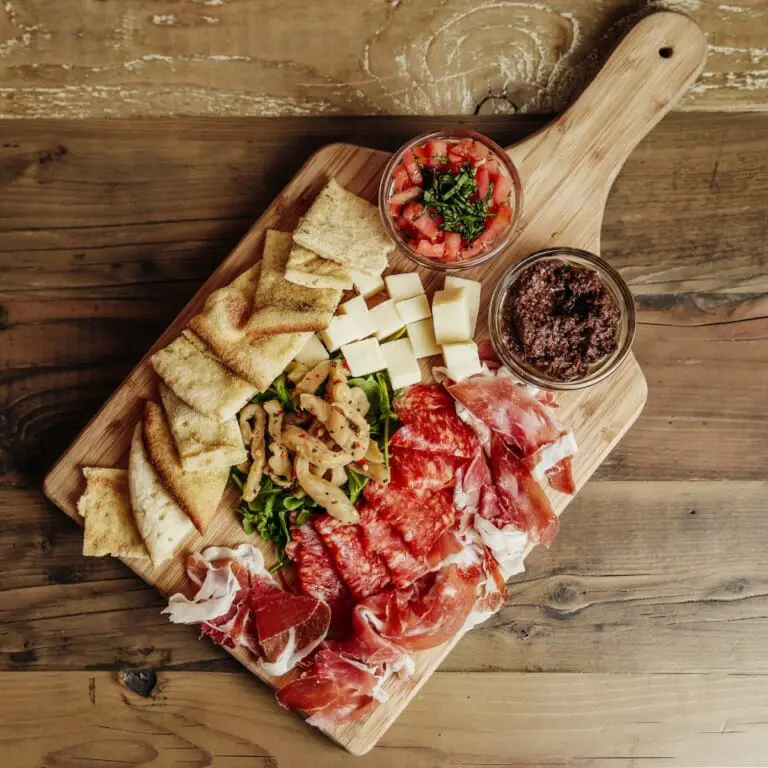
How to Make a Perfect Charcuterie Board for Baby Shower
Charcuterie is an economical way to serve many guests, and you can add many items to your board without needing too much preparation. Learn how to arrange the perfect charcuterie board for baby shower.
See More How to Make a Perfect Charcuterie Board for Baby Shower
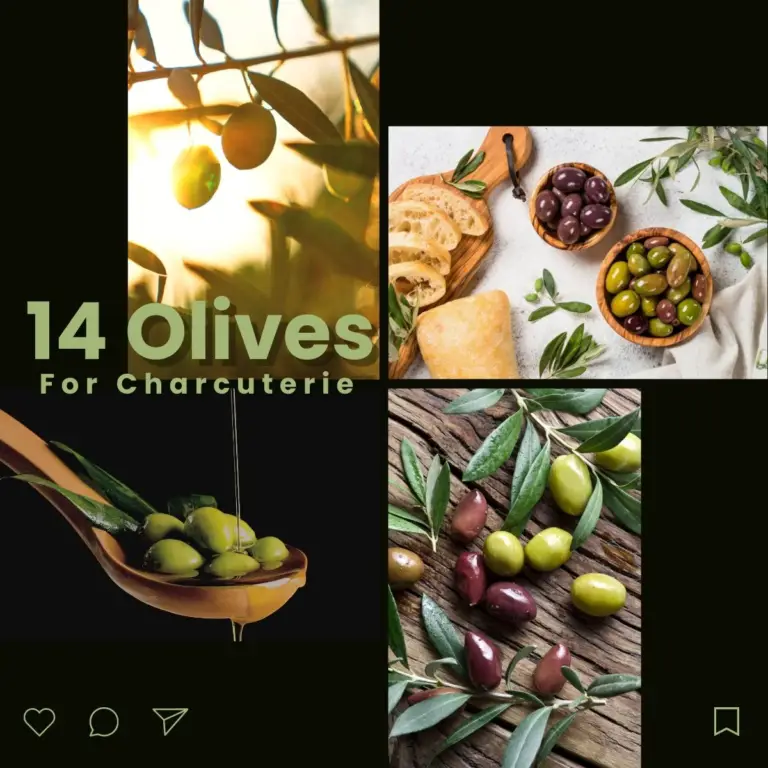
14 Awesome Olives for Charcuterie and Creative Ways to Serve Them
Olives are known for their rich umami taste. Learn how to select the best olives for charcuterie and how to present them.
See More 14 Awesome Olives for Charcuterie and Creative Ways to Serve Them
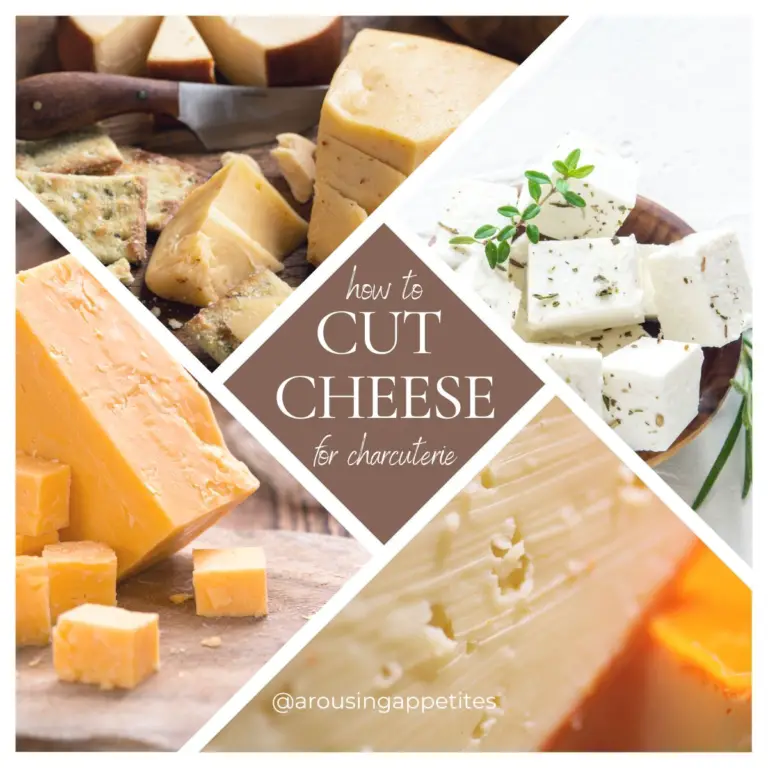
Types and Tastes: How to Cut Cheese for Charcuterie
Charcuterie boards need different types of cheeses. Learn about different cheese types and how to cut cheese for charcuterie.
See More Types and Tastes: How to Cut Cheese for Charcuterie
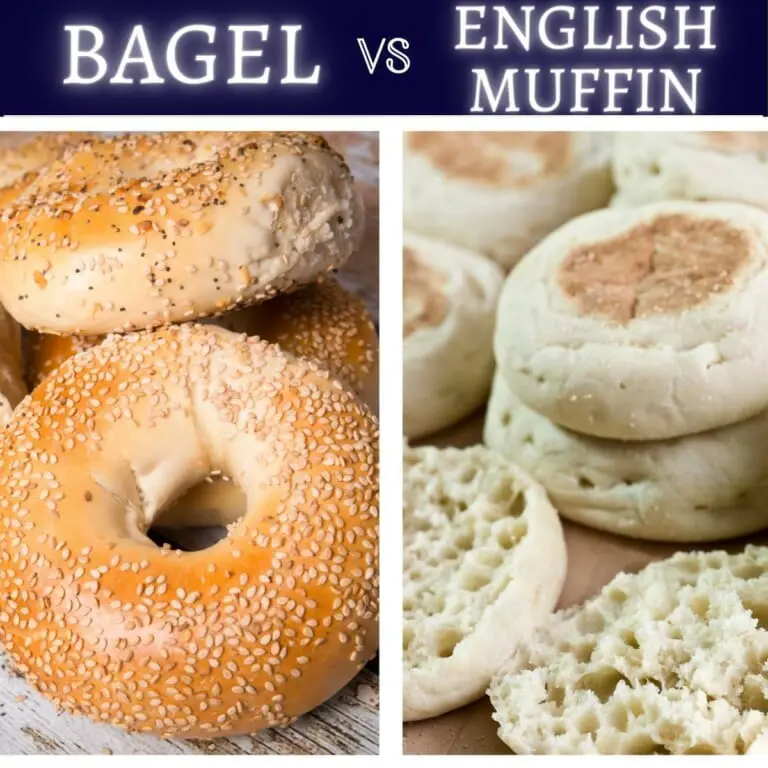
Is English Muffin or Bagel Healthier? Our Take (and Bake!)
Yes, they both have carbs. They both contain calories. But is english muffin or bagel healthier?
See More Is English Muffin or Bagel Healthier? Our Take (and Bake!)
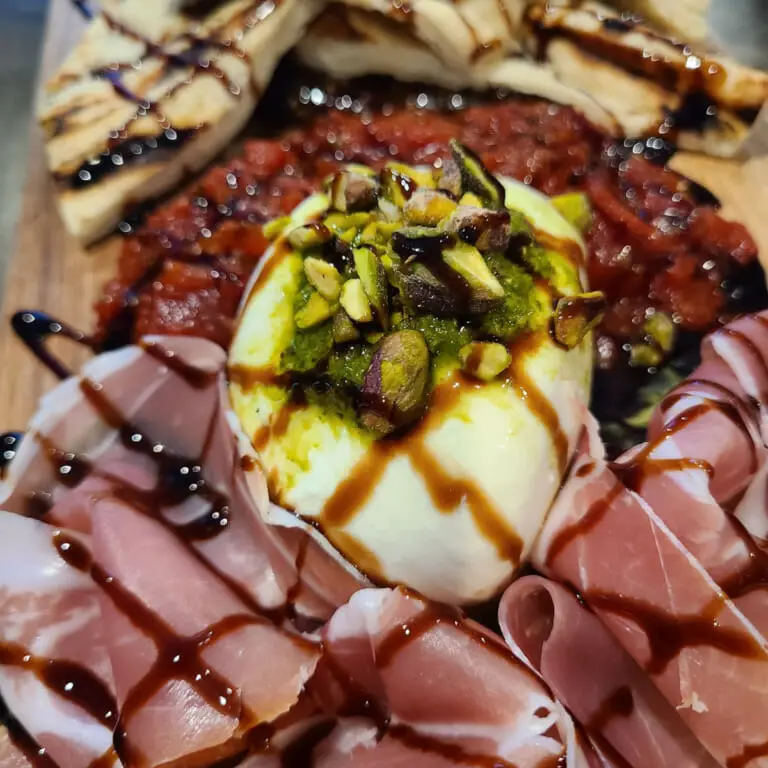
How to Select Cured Meats for Charcuterie—No Pork
It won’t be as simple to make your charcuterie no pork. You won’t have too much trouble after reading these tips.
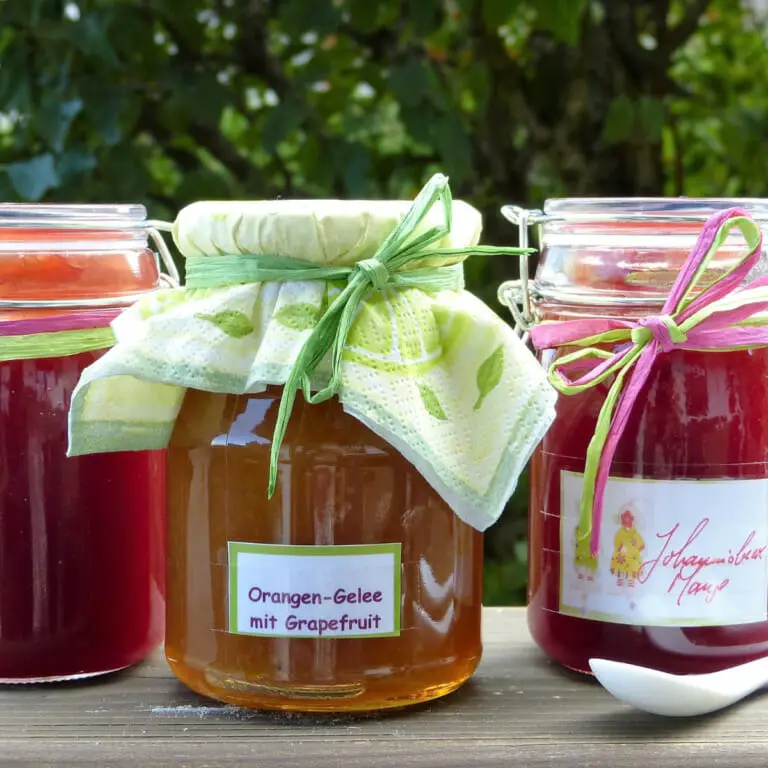
The Best Jam for Charcuterie Board and How to Pair Them
Jams and jellies Look great on charcuterie and enhance the flavor of other food items. Learn how to pick the right jam for charcuterie board.
See More The Best Jam for Charcuterie Board and How to Pair Them

Charcuterie Cups For Wedding – Perfect Snacks for Cocktail Hour
Charcuterie cups for wedding is a great idea for cocktail hour. Wow your guests with these individual snack cups.
See More Charcuterie Cups For Wedding – Perfect Snacks for Cocktail Hour
6 Best Cheese for Charcuterie: How to Choose the Right Cheese for Your Meat Board
Choosing the best cheese for charcuterie is very important to having a successful cheeseboards. Variety is key here. Let’s talk about the top 6 as well as some runner-ups, and why they made the list.
See More 6 Best Cheese for Charcuterie: How to Choose the Right Cheese for Your Meat Board

How to Make Onigiri – Recipes, Fillings, and How To Wrap
How to make onigiri with mold, or without mold, with step-by-step picture instructions. We’ll also show you how to wrap onigiri with and without onigiri wrappers.
See More How to Make Onigiri – Recipes, Fillings, and How To Wrap
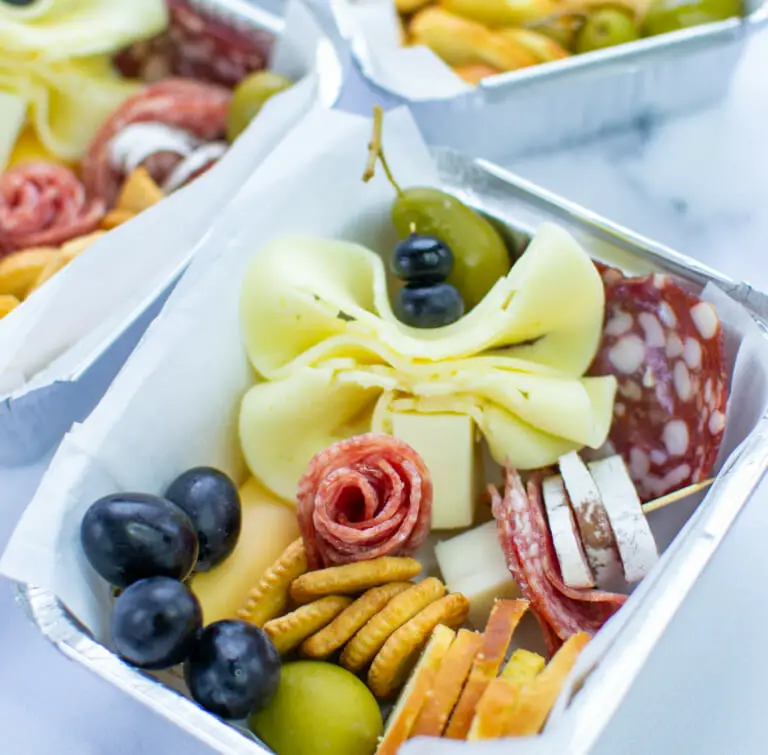
Charcuterie Box – Easy Individual Mini Charcuterie Boxes
Charcuterie boxes make a healthy lunch, snack, or a great party favor or gift idea! These are easy and healthy to make
See More Charcuterie Box – Easy Individual Mini Charcuterie Boxes
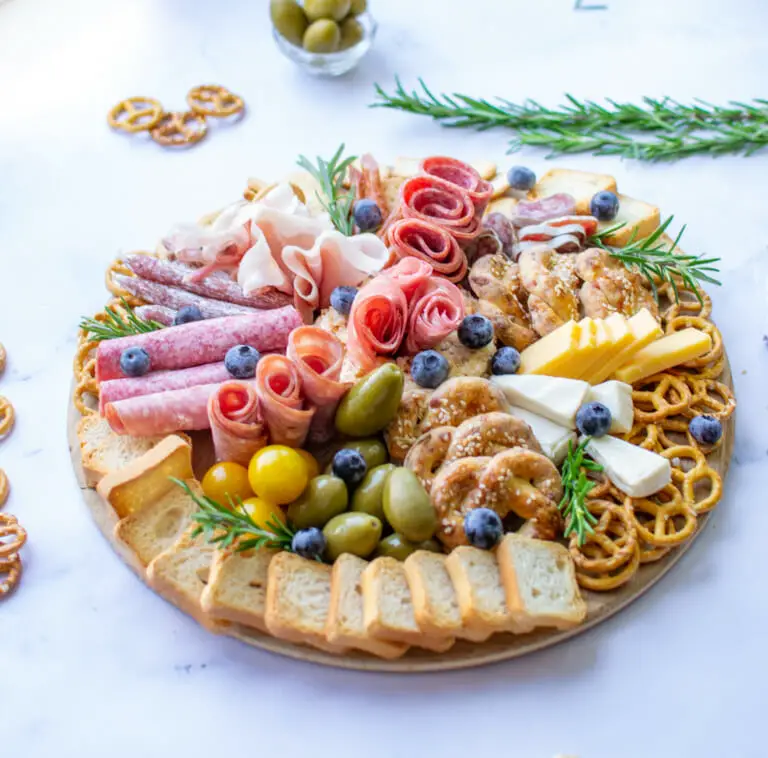
Pretzel Charcuterie Board – Easy Party Pleaser
A pretzel charcuterie board is a perfect football or game night party pleaser! Learn how to make the perfect pairings and arrangement for a successful party.
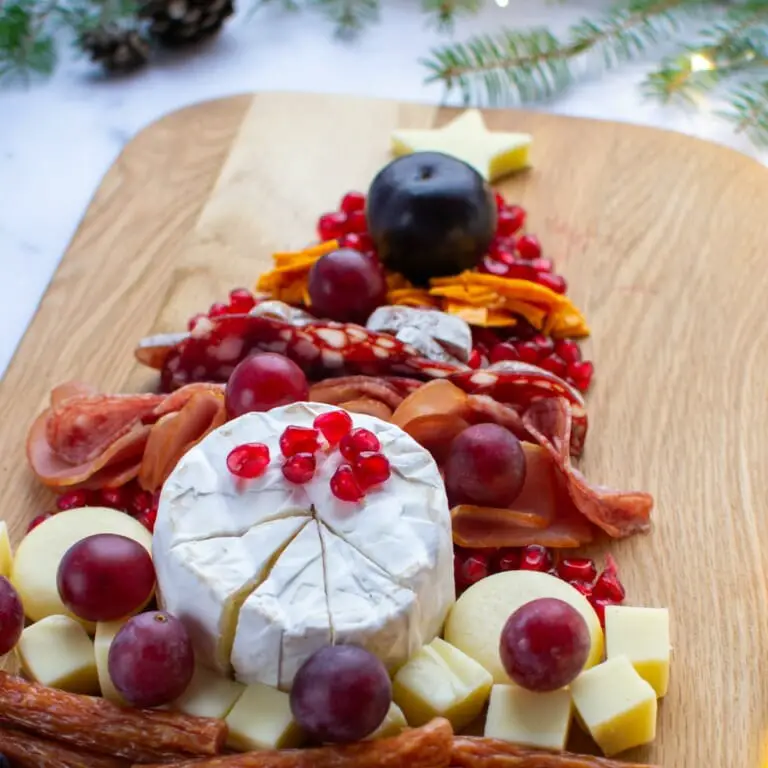
Festive New Year’s Charcuterie Board for Your Next Snack Board
Looking for a festive new year’s snack board? This charcuterie board is perfect for your next party! The sweet and fruity selections will appeal to those who love sweets, while the savory spreads will satisfy everyone. You can prepare it ahead of time and store it in the fridge, or serve it at room temperature. And don’t forget the chocolate-covered fruit!
See More Festive New Year’s Charcuterie Board for Your Next Snack Board

DIY Charcuterie Cones: How to Make and Serve Individual Cheese and Charcuterie Wrapped Cones
Charcuterie cones are an easy, convenient way to serve up a variety of charcuterie ingredients in a cute, hand-held package. We’ll show…

Easy Charcuterie Skewers – Individual Italian Snacks
Charcuterie skewers are fun to serve at parties that’s clean and easy to serve to guests at large gatherings.
See More Easy Charcuterie Skewers – Individual Italian Snacks
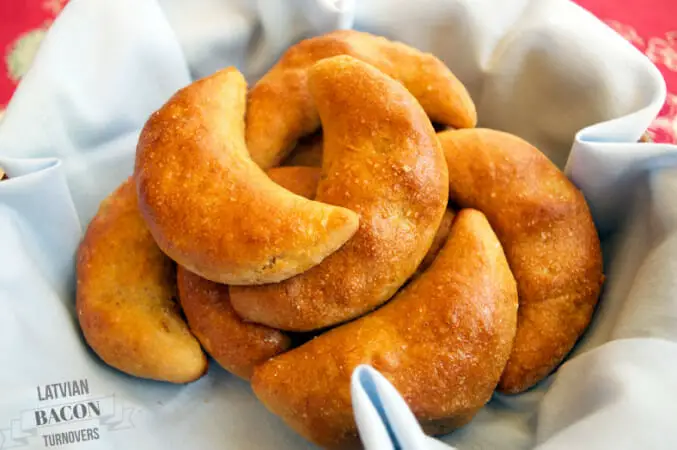
Piragi: Latvian Bacon Buns With Onions (Pīrāgi)
Bacon + Buttery Pastry = pure YUMM. This pastry one the outside bacon on the inside will have you wanting more. You can’t have just one!
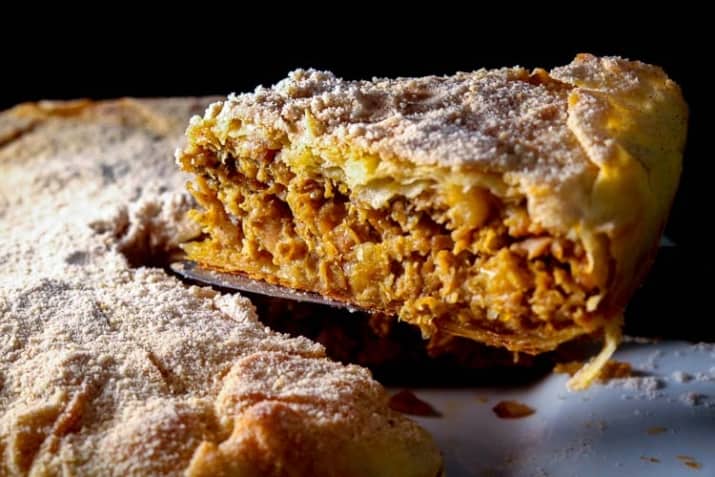
Moroccan Bastilla Sweet Savory Pie
This meat pie is filled with chicken thigh, saffron, cinnamon and other spices, then baked in phyllo dough. Finally it is topped with powdered sugar and slivered almonds.
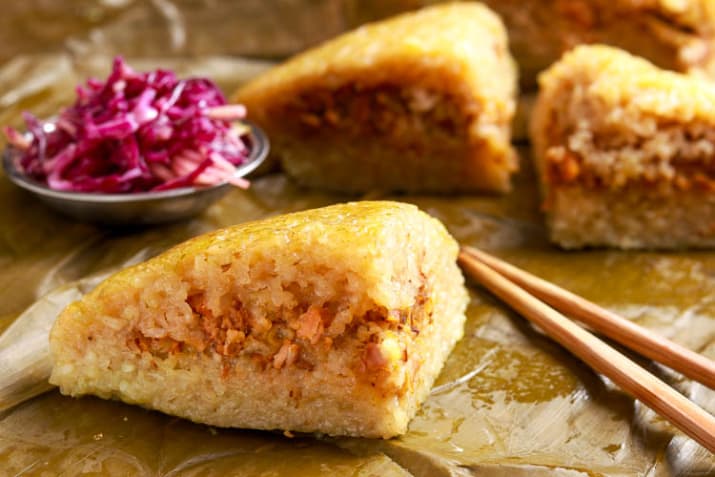
Banh Chung Vietnamese Steamed Rice Cakes
Here at Arousing Appetites we can think of no better way of bringing in the lunar new year than hitting the kitchen.…
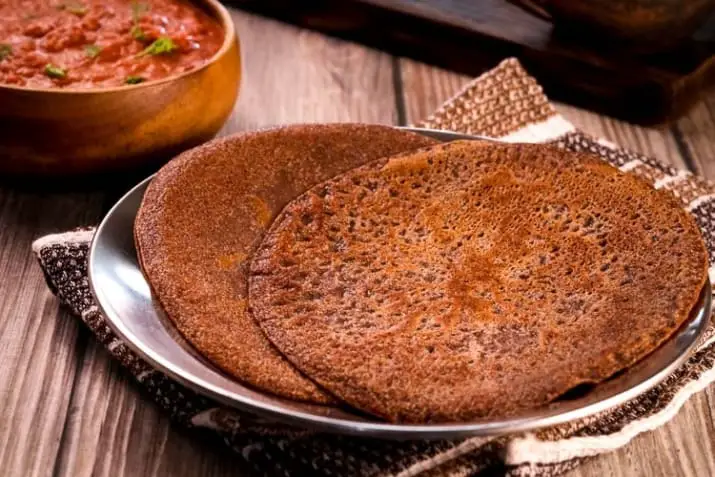
Injera Spongy Ethiopian FlatBread
Injera is the soft, bubbly, pancake-like flatbread that’s the first and last word in Ethiopian cuisine. Made from the country’s indigenous teff…
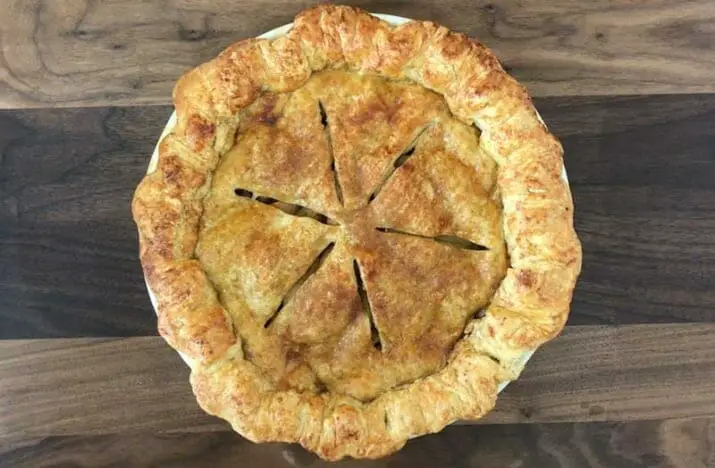
Pie Crust Perfect Flaky Golden Butter Brown
Whether it’s the pumpkin pie for Thanksgiving or apple pie for the 4th of July, pies are an iconic part of the…
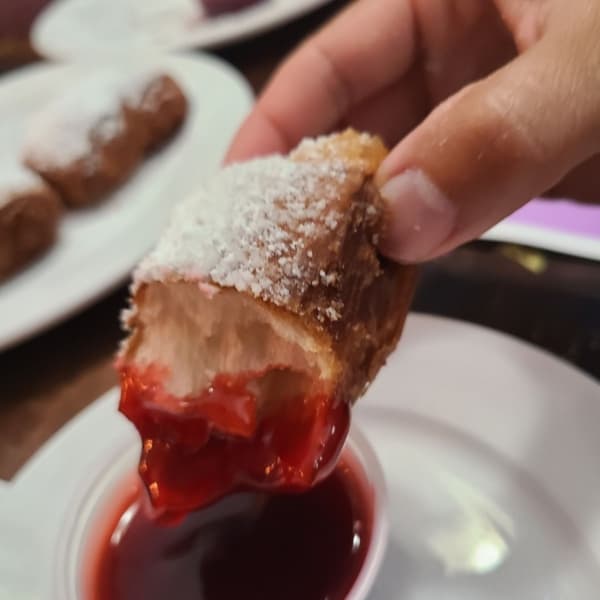
Beignet Recipe Easy New Orleans Style with Dipping Sauce
An easy recipe for a favorite New Orleans French “donut” beignet recipe. Made with eggs, flour, yeast, and butter – topped with…
See More Beignet Recipe Easy New Orleans Style with Dipping Sauce
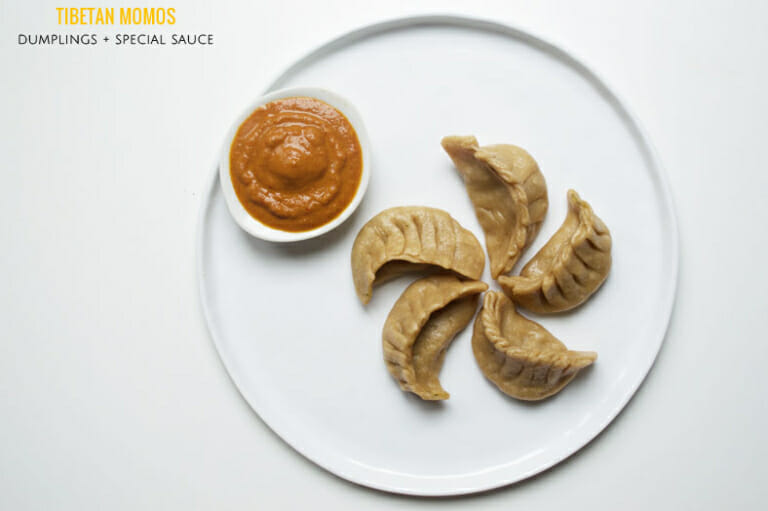
Steamed Dumplings From Scratch With Filling & Dipping Sauce Recipe
What is a Steamed Dumpling? A steamed dumpling is a delicious Chinese snack that can be eaten hot or cold. It’s usually…
See More Steamed Dumplings From Scratch With Filling & Dipping Sauce Recipe
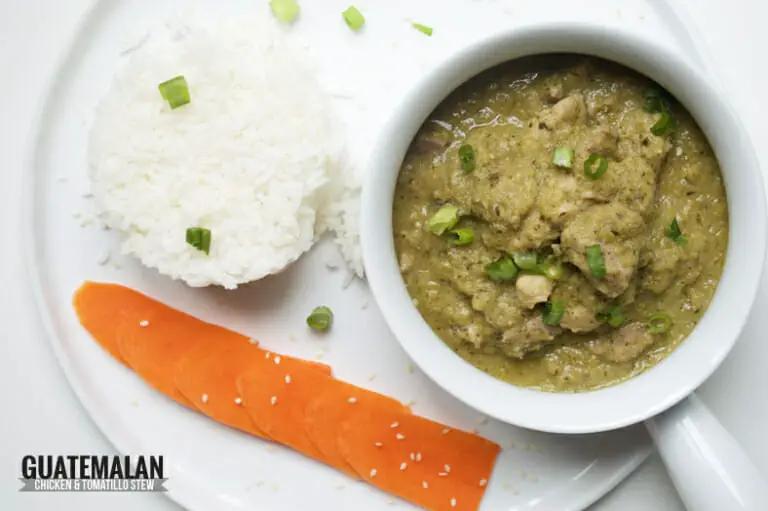
Jocon De Pollo Guatemalan Chicken Tomatill Stew
Jocon de pollo is a classic Guatemalan dish, heavily influenced by Mayan culture in Guatemala. It is a fusion of ingredients the Maya…

Pelmeni Siberian Meat Dumplings
The humble pelmeni-like dumpling is something you can find nesting in pretty much every cuisine in the world. From Italian ravioli to…
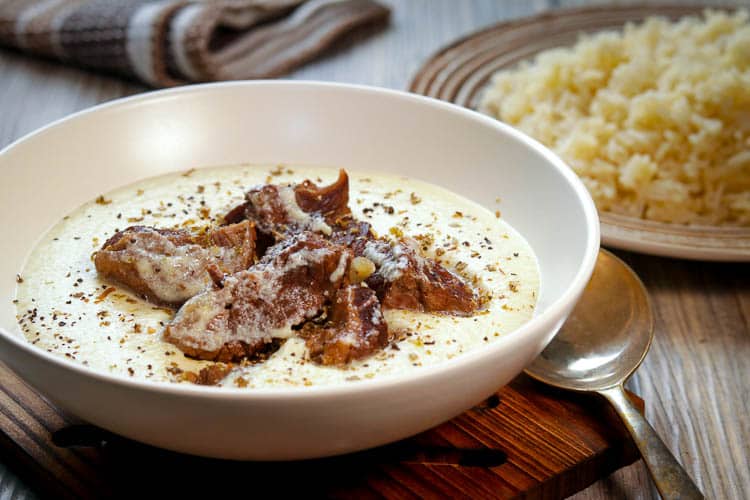
Shakriya Syrian Lamb Yogurt Soup
Shakriya – a Syrian soup with yogurt, lamb, chickpeas and pine nuts, as well as a mouthwatering infusion of spices and herbs…
Jianbing Chinese Savory Breakfast Crepe
Jianbing is a Chinese savory breakfast crepe and one of the country’s most popular street foods. The fillings vary depending on which city you’re…
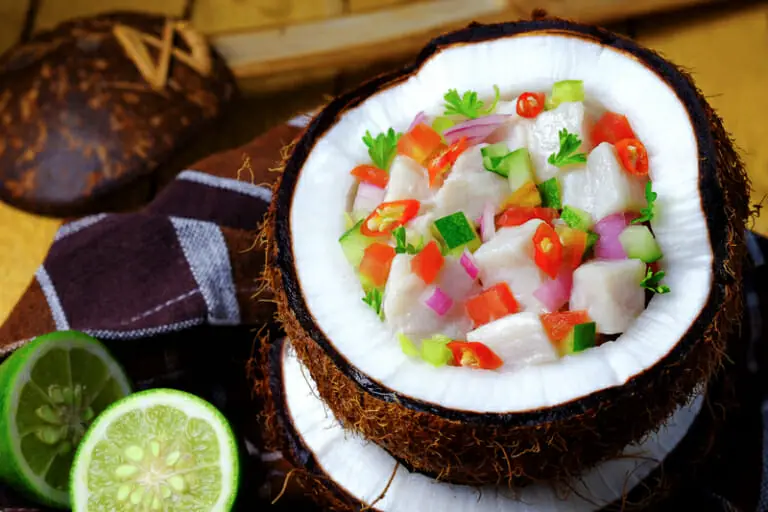
Kokoda Fijian Coconut Milk Ceviche with Mahi Mahi
If you’re tiring of the Hawaiian Poke craze but love a bowl of raw fish, you might want to look to another…
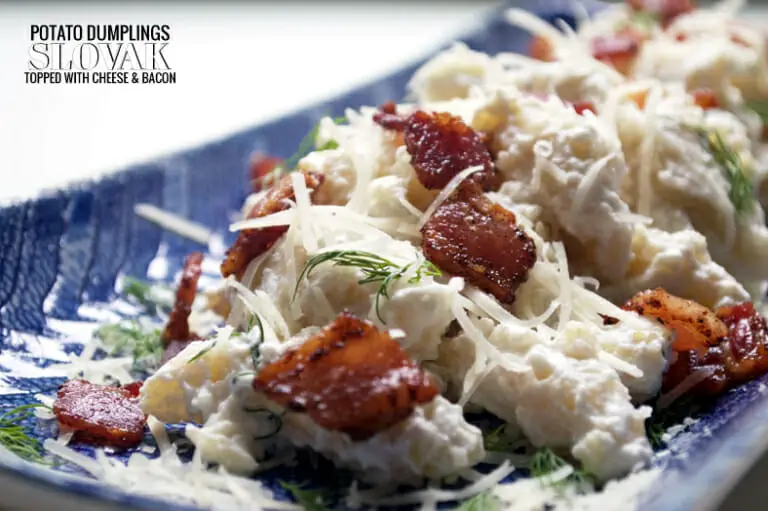
Halusky Slovakian Potato Dumplings
Potatoes are the heart of Eastern European culinary tradition, featured prominently in many dishes, and halusky – the national dish of Slovakia…
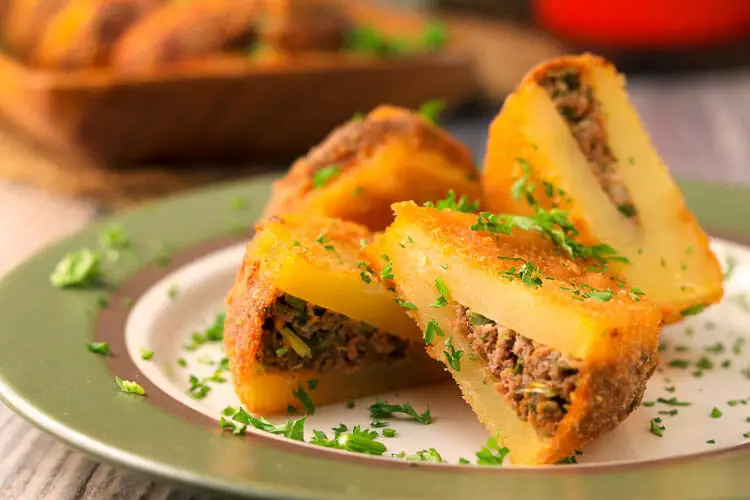
M’battan Libyan Meat Stuffed Potatos
M’battan – small, deep-fried balls of potato stuffed with a seasoned minced meat – might just be your next finger food favorite.…
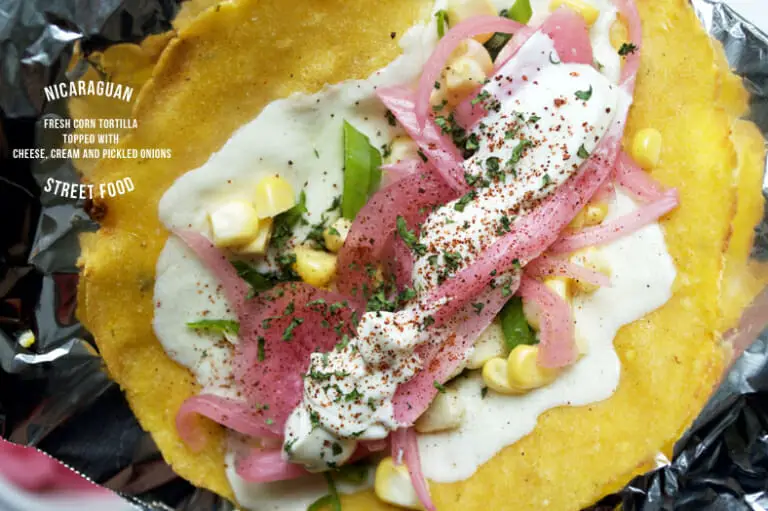
Quesillo Nicaraguan Tortill and Cheese Street Food
There is more to quesillo than meets the eye. What other street food has ignited a bitter battle of words between two…
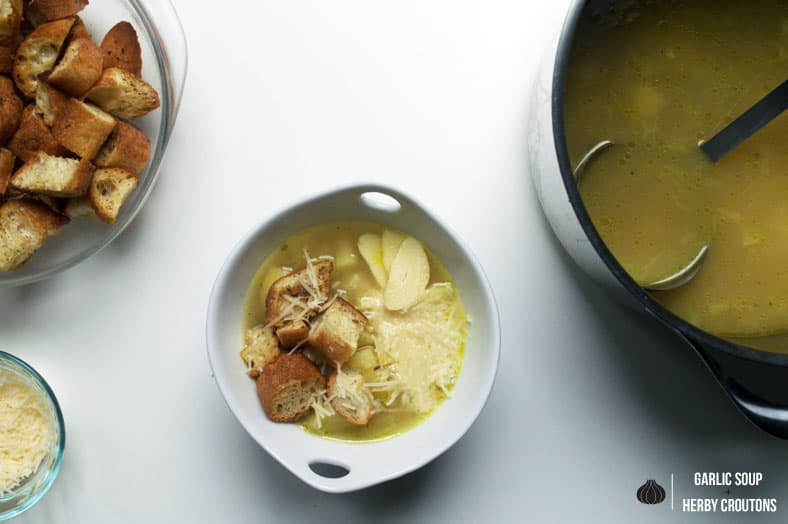
Cesnecka: Czech Garlic Soup
It’s no real secret here that we’re pretty big fans of garlic. Even one glance at other recipes like brodet and tave kosi is…
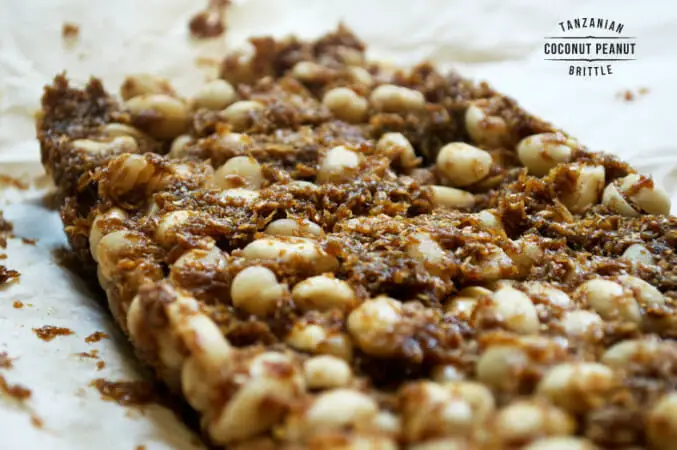
Kashata: Tanzanian Coconut Peanut Brittle
Sometimes, it’s difficult to pin down a particular recipe to one given location, especially with today’s relatively new national borders. Count kashata,…
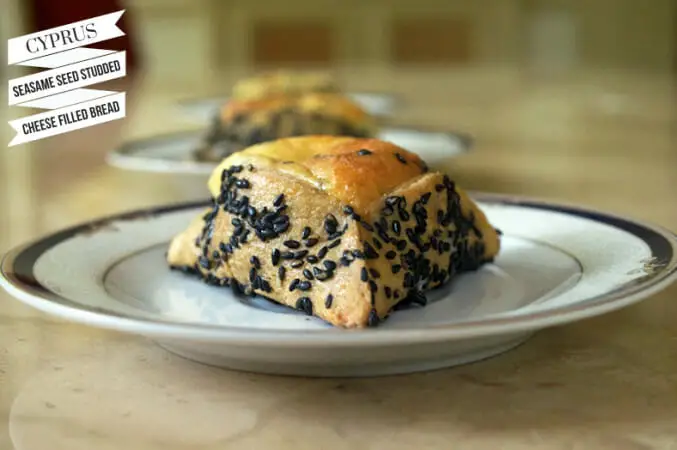
Flaounes: Cypriot Easter Dessert
It never ceases to amaze us how much the history of a particular food can really speak to the broader history of…
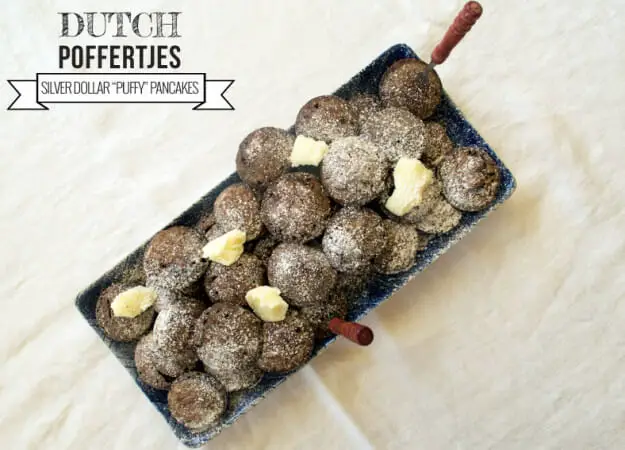
Poffertjes: Dutch Silver Dollar Pancakes
Some recipes we choose to do for less logical, more emotional reasons. Even in the early stages of recipe planning, we were…
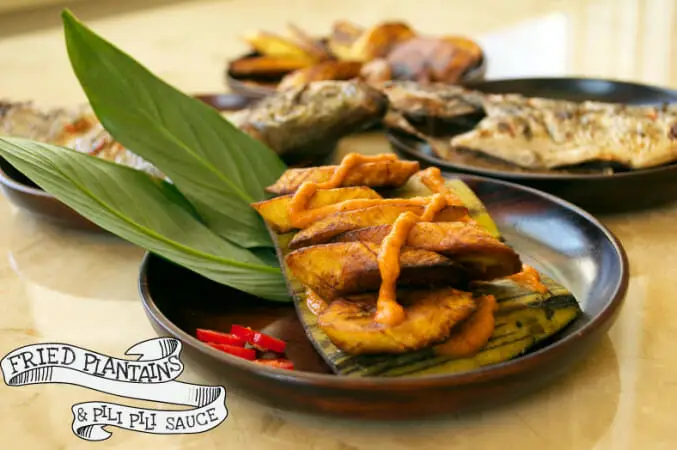
Alloco: Ivorian Fried Plantains
Sure, every cuisine has popular recipes… the ones whose appeal to the local people separates them from the rest of the pack.…
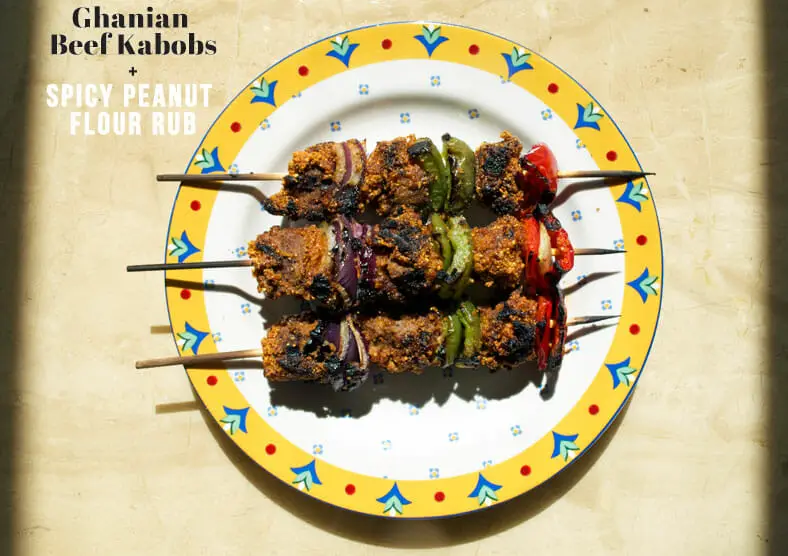
Kyinkyinga: Ghanaian Groundnut Beef Skewers
There are some combinations of flavors where, unless you’ve actually it before, you really don’t know what to expect. We thought we knew what to…
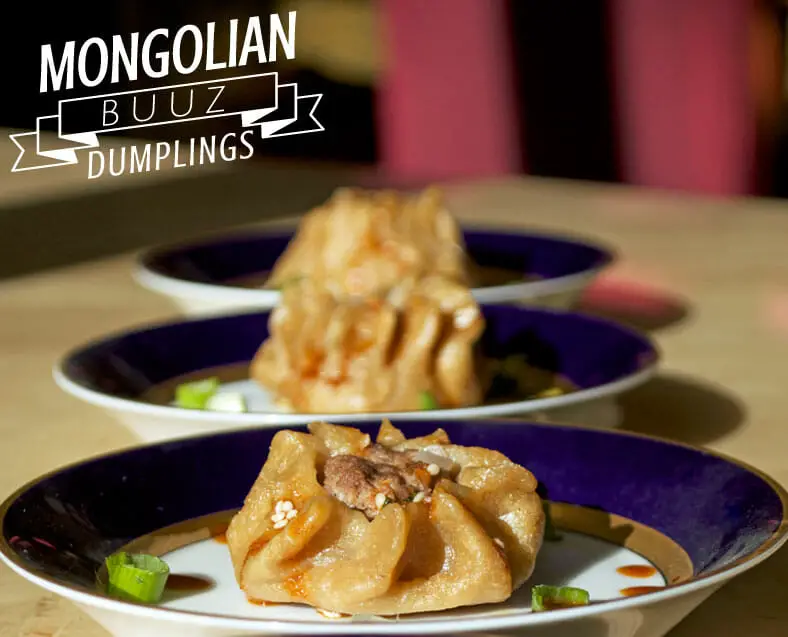
Buuz
It seems like almost every cuisine out there has some sort of localized version of the dumpling. The Japanese have the gyoza.…
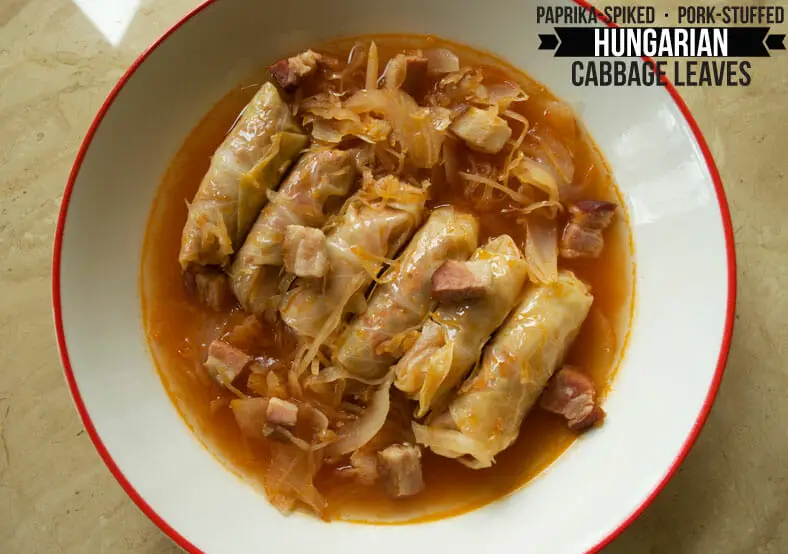
Toltott Kaposzta: Hungarian Stuffed Cabbage Rolls
It’s always fun for us to dive head first into a cuisine that we previously knew very little about. Besides the expected gratuitous…
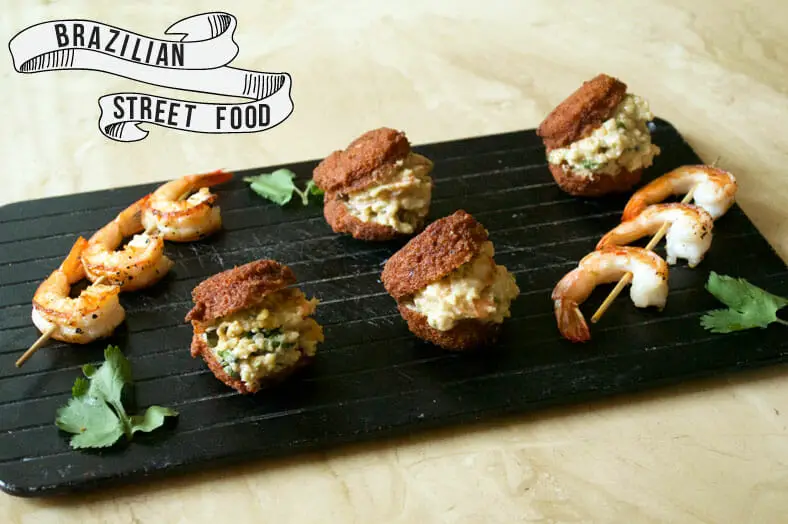
Acaraje with Vatapa
This week marks the beginning of one of the year’s widely celebrated times shared around the world. That’s right, it’s Carnival time!…
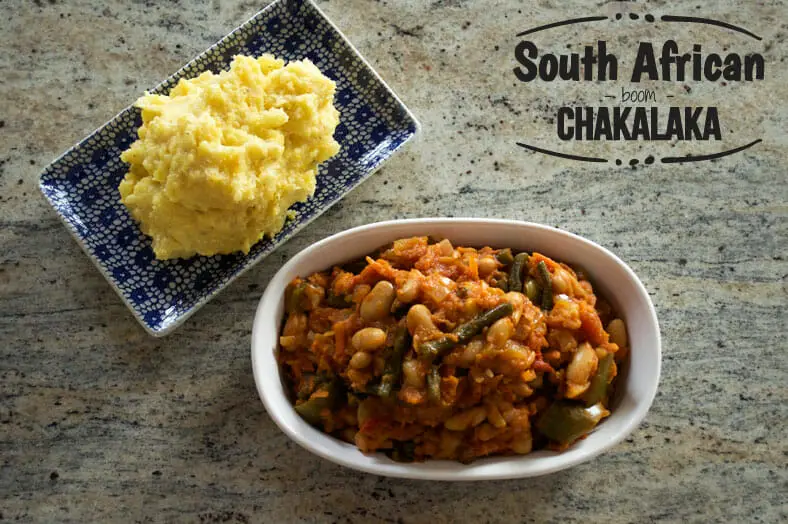
Chakalaka
Sure, most recipes will leave a little room for imagination to the beholder (in other words, the cook). Chakalaka, however, is a…
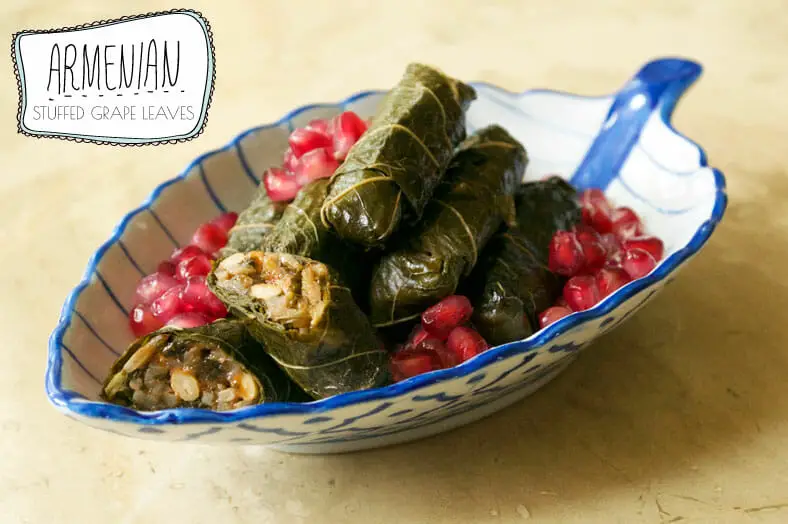
Yalanci Sarma: Armenian Stuffed Grape Leaves
Since it is the holiday season, ’tis also the season for holiday parties! As part of our quest to find holiday-centric recipes…
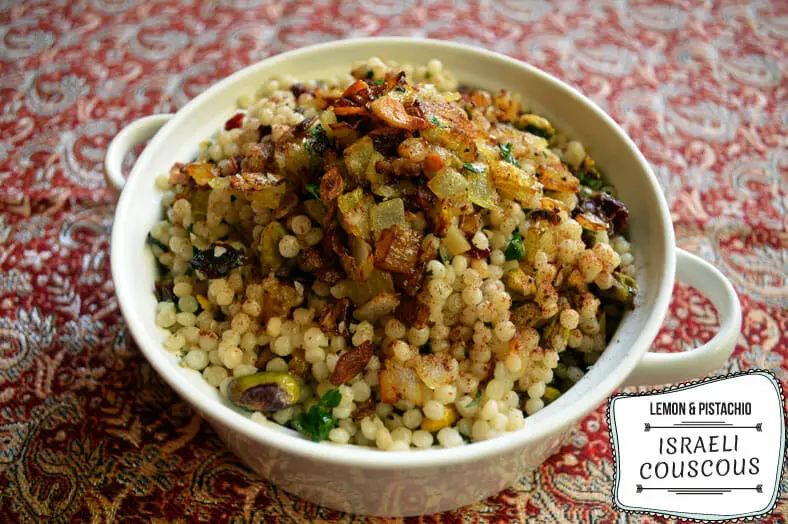
Lemon-Pistachio Israeli Couscous
This couscous is not your average couscous. Made with pistachios and dried cherries, cranberries, raisins, and apricot. It’s a flavorful couscous you wish you had.
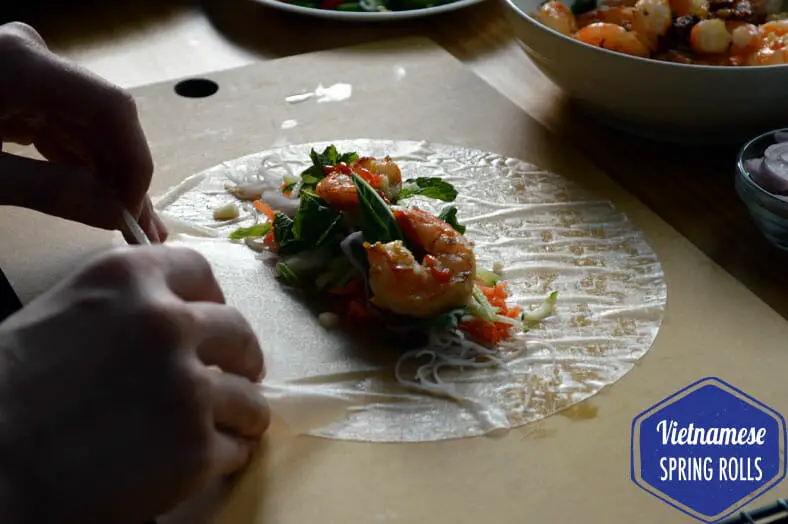
Goi Cuon: Vietnamese Spring Rolls
One of the greatest “grocery store discoveries” that we’ve ever made has been rice paper sheets for fresh Vietnamese spring rolls. For…
CHINESE, KOREAN, THAI, AND VIETNAMESE
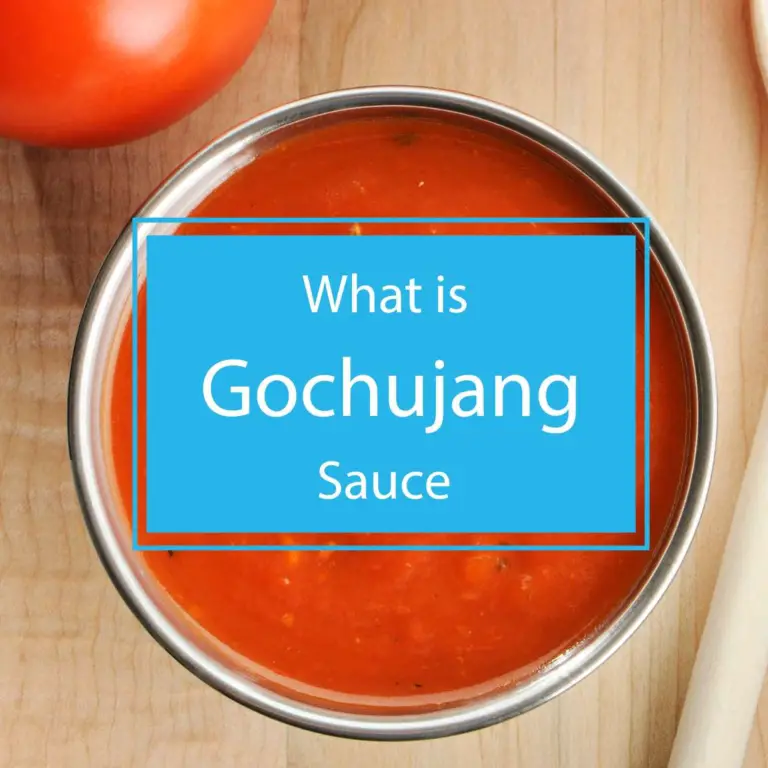
Demystifying What Gochujang Sauce : A Flavorful Exploration
Curious about what Gochujang sauce is? It’s a flavorful Korean condiment, blending spicy, sweet, and savory notes. Join us on a friendly exploration of this beloved sauce’s rich history and delicious potential.
Continue Reading Demystifying What Gochujang Sauce : A Flavorful Exploration
Cracking the Mystery of What’s in an Egg Roll – Unveiling Tasty Secrets!
Crunchy and flavorful, egg rolls are a beloved snack enjoyed worldwide. With their golden-brown exterior and delicious fillings, egg rolls offer a delightful culinary adventure in every bite. Whether enjoyed as an appetizer or a quick snack on the go, egg rolls are sure to satisfy cravings with their irresistible blend of savory ingredients.
Continue Reading Cracking the Mystery of What’s in an Egg Roll – Unveiling Tasty Secrets!
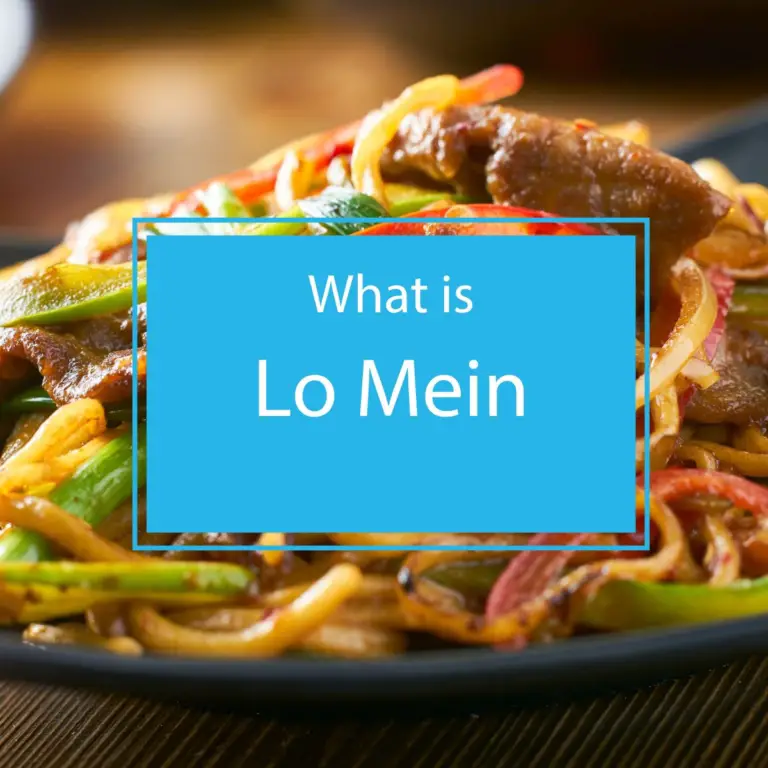
What Is Lo Mein: Discover the Delights of Lo Mein Noodles Now
Curious about Chinese comfort food? Dive into the world of delicious possibilities and ask yourself, ‘What Is Lo Mein?’ This beloved dish features stir-fried noodles, vibrant veggies, and savory sauces, promising a delightful culinary adventure that’ll leave your taste buds smiling.
Continue Reading What Is Lo Mein: Discover the Delights of Lo Mein Noodles Now
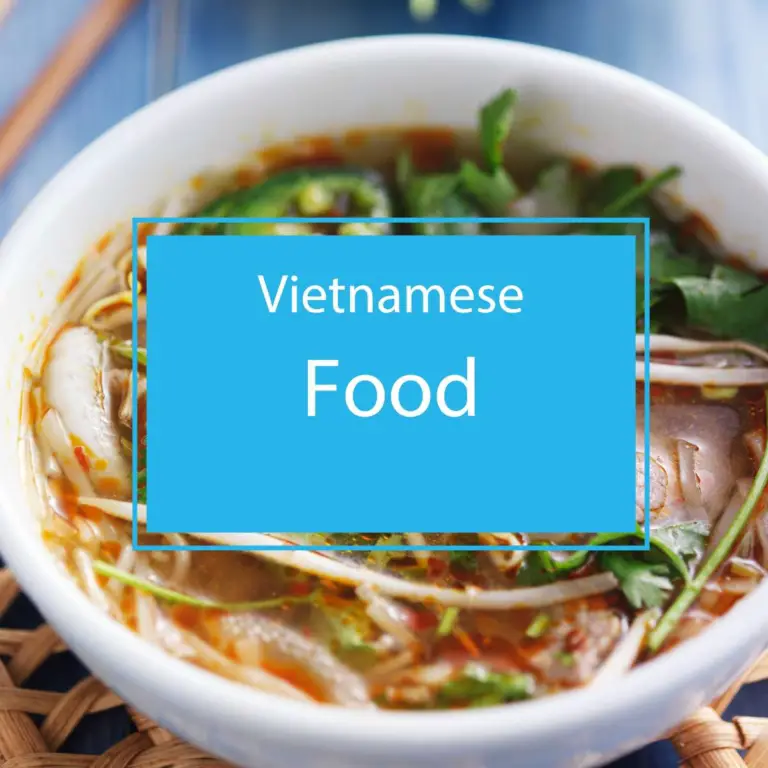
Vietnamese Food: A Flavorful Exploration of Traditional Dishes
Welcome to the vibrant world of Vietnamese food, where every dish tells a story of tradition, culture, and flavor. From the aromatic pho simmering in savory broth to the delicate spring rolls bursting with freshness, Vietnamese cuisine is a delightful symphony of textures and tastes.
Continue Reading Vietnamese Food: A Flavorful Exploration of Traditional Dishes
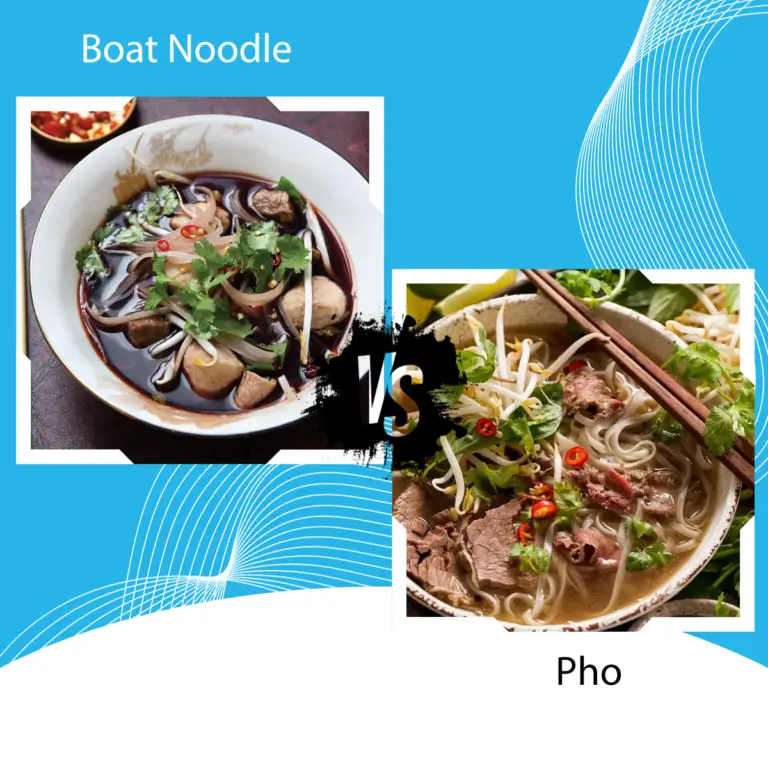
Boat Noodle Soup vs Pho: What’s the Difference?
Pho is a Vietnamese clear beef broth and is served with sliced beef and beef organs whilst boat noodle soup is a Thai based pork broth and served with pork slices.
Continue Reading Boat Noodle Soup vs Pho: What’s the Difference?
What to Add to Instant Pho?
When preparing instant pho, it is always a reminder as to What to Add to Instant Pho
SOUPS, CURRIES, AND STEW
What Is Soup? Unveiling the Magic in Every Bowl
What is soup, and why do we love it so much? Find out how this timeless dish blends simple ingredients into nourishing meals that warm the heart and soul.
Continue Reading What Is Soup? Unveiling the Magic in Every Bowl
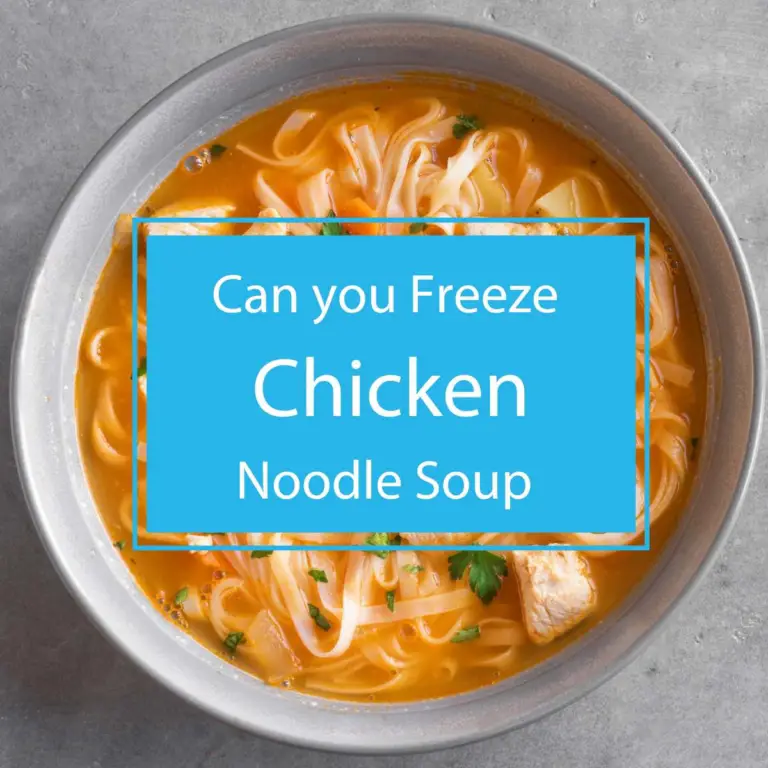
Freeze or Feast: Can You Freeze Chicken Noodle Soup?
Curious about leftovers? Absolutely, you can freeze chicken noodle soup! So go ahead, feast today and freeze for tomorrow – your future self will thank you!
Continue Reading Freeze or Feast: Can You Freeze Chicken Noodle Soup?
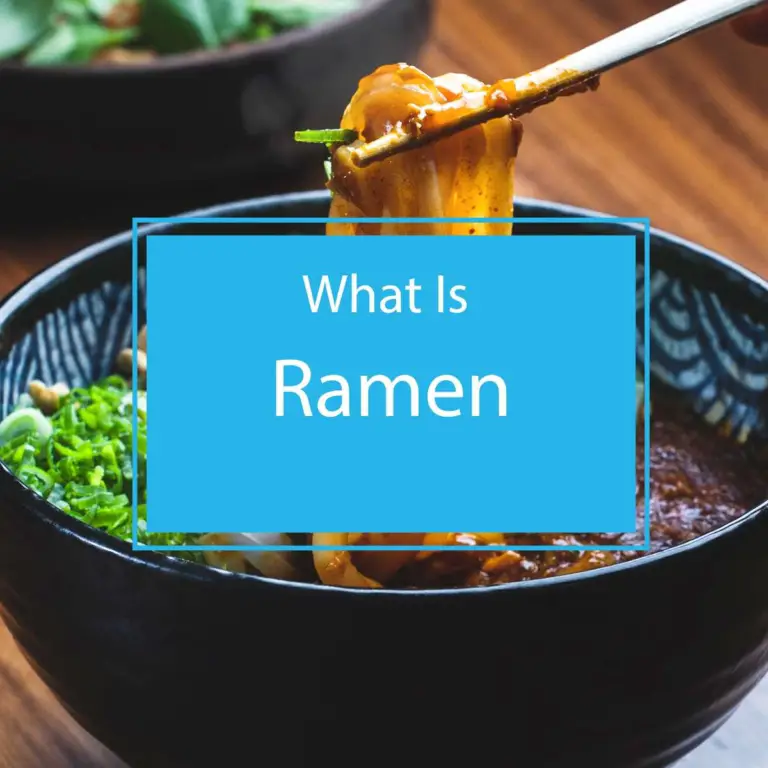
What Is Ramen: A Delicious Japanese Noodle Soup
Curious about What Is Ramen? Well, it’s not just a bowl of noodles; it’s a comforting hug in a bowl, brimming with flavorful broth, chewy noodles, and an array of toppings like tender slices of pork, crunchy bamboo shoots, and a perfectly soft-boiled egg. It’s a beloved Japanese dish that’s all about warmth, flavor, and pure deliciousness!
Continue Reading What Is Ramen: A Delicious Japanese Noodle Soup
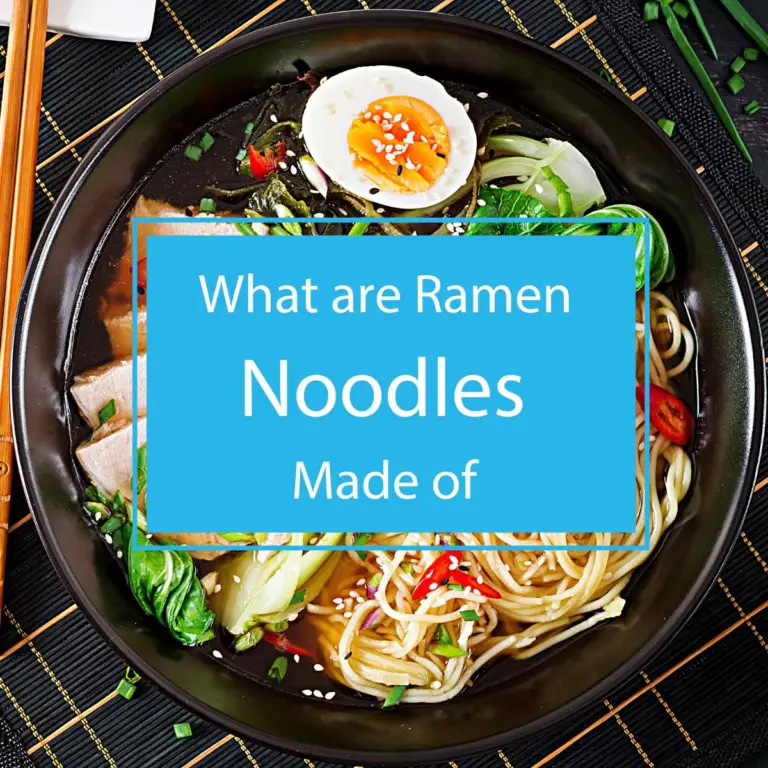
Unveiling Ingredients: What Are Ramen Noodles Made Of?
Curious minds often wonder, “What are ramen noodles made of?” The answer is a delightful blend of wheat flour, water, salt, and a touch of alkaline mineral salts. These humble ingredients come together to create the beloved strands that bring joy to countless bowls of comforting ramen soup.
Continue Reading Unveiling Ingredients: What Are Ramen Noodles Made Of?
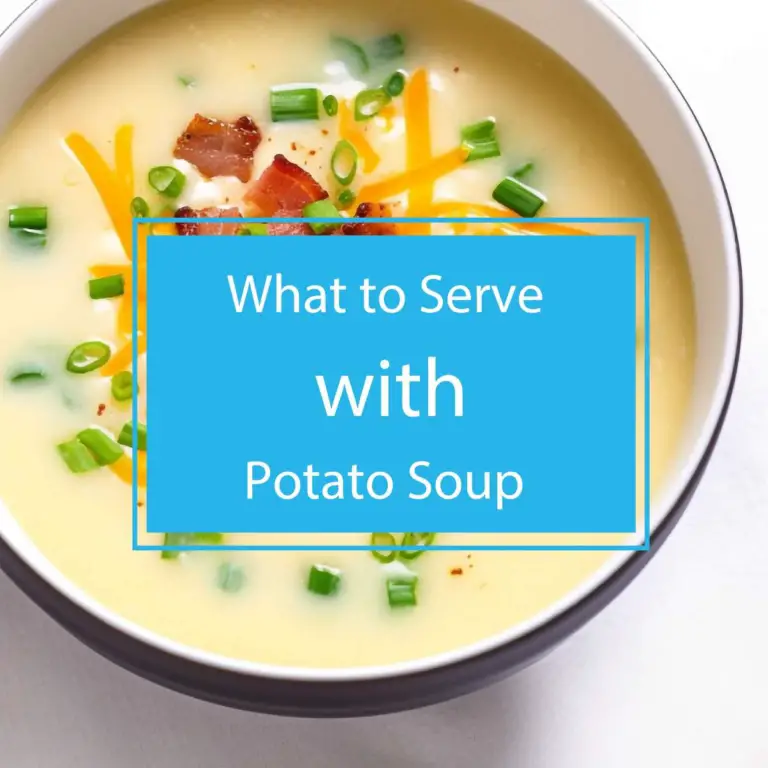
What to Serve with Potato Soup: Perfect Pairings for Potato Soup Delights
Explore the heartwarming world of potato soup and elevate your dining experience with our guide on ‘What to Serve with Potato Soup.’ Discover friendly pairings that perfectly complement the creamy richness of this soup, making every spoonful a delightful and satisfying treat.
Continue Reading What to Serve with Potato Soup: Perfect Pairings for Potato Soup Delights
Boat Noodle Soup vs Pho: What’s the Difference?
Pho is a Vietnamese clear beef broth and is served with sliced beef and beef organs whilst boat noodle soup is a Thai based pork broth and served with pork slices.
Continue Reading Boat Noodle Soup vs Pho: What’s the Difference?
30 MINUTES OR LESS
Charcuterie Cups For Wedding – Perfect Snacks for Cocktail Hour
Charcuterie cups for wedding is a great idea for cocktail hour. Wow your guests with these individual snack cups.
Continue Reading Charcuterie Cups For Wedding – Perfect Snacks for Cocktail Hour
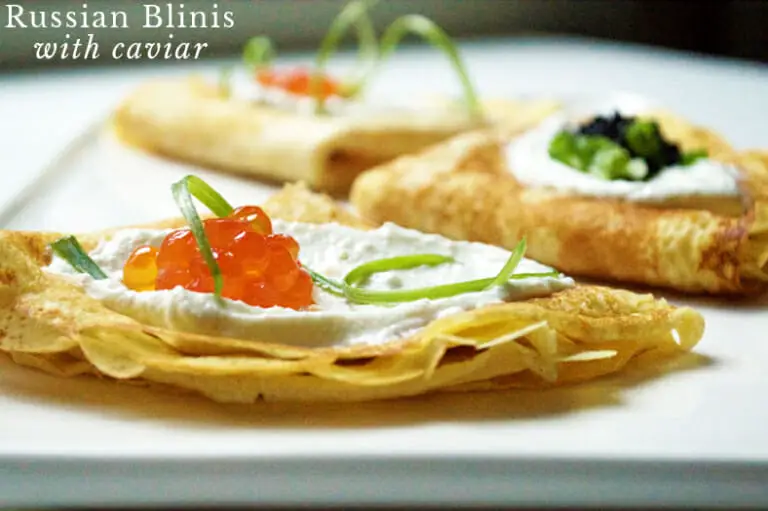
Blinis Thin Russian Pancakes Salmon Roe Caviar Fruit Jam Ricotta Toppings
This crepe is made from scratch and topped with either savory cream cheese and salmon – or top it with blueberry jam and greek yogurt. Pure YUMMM
Continue Reading Blinis Thin Russian Pancakes Salmon Roe Caviar Fruit Jam Ricotta Toppings
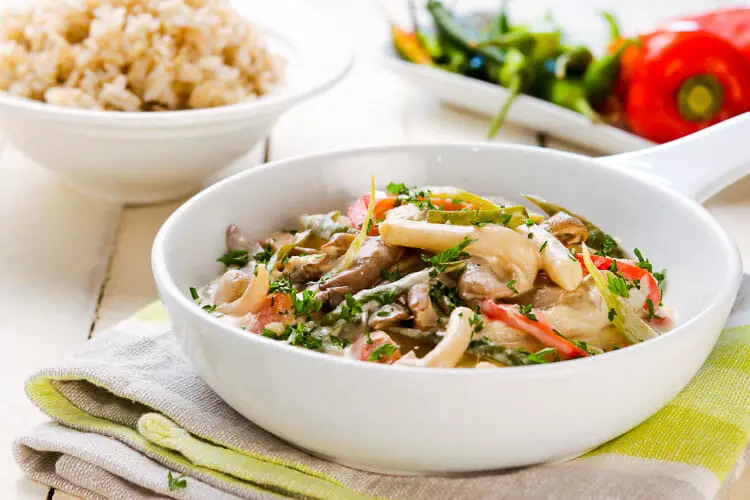
Ema Datshi Bhutanese Chili Cheese Stew
If, like us, you’re the kind of spice fan who likes to sprinkle tabasco over your habanera peppers, then you’ve found your dream dish in Bhutan’s ema datshi. Basically a curry made from chili peppers and farmer’s cheese, ema datshi can be tweaked for more sensitive palates by switching out the chilis for milder pepper…
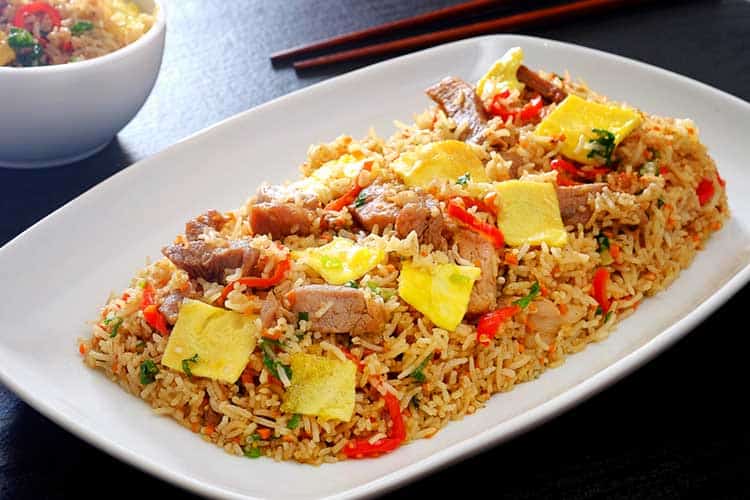
Arroz Chaufa Peruvian Cantonese Stir Fried Rice
Think of a classic Peruvian dinner, and arroz chaufa might not be the first thing that springs to mind. You might instead conjure up a plate of ceviche or a barbequed cuy (guinea pig!) washed down with a pisco sour. Spend an evening in Lima, however, and you are just as likely to find yourself tucking into a hearty…
Continue Reading Arroz Chaufa Peruvian Cantonese Stir Fried Rice
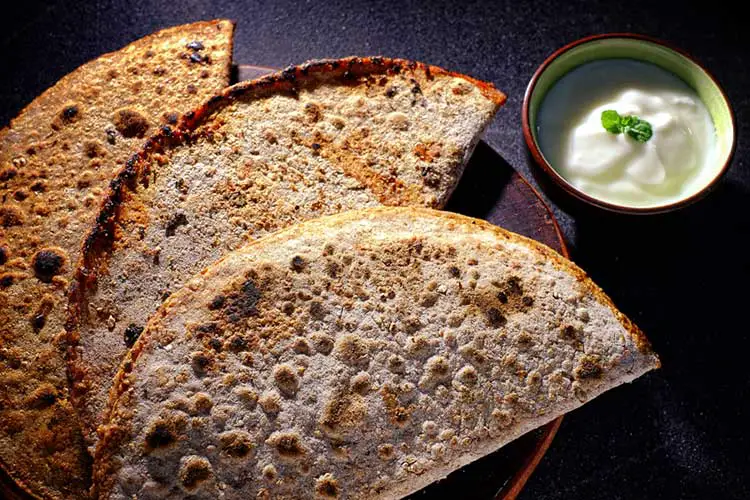
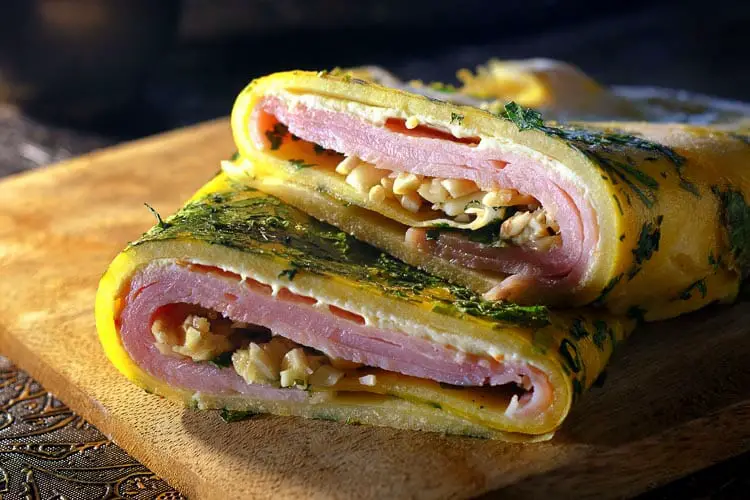
Kutab Azerbaijani Azeri Herb Filled Wheat Pancake
More robust than a crepe, more delicate than bread, the Azerbaijani kutab is a kind of flatbread-pancake stuffed with a variety of possible fillings from pumpkin or cheese to spinach, offal, herbs, and even camel meat. A more cavalier commentator might pass it off as a regular sandwich, but we think that would be massively underselling the art of mixing and…
Continue Reading Kutab Azerbaijani Azeri Herb Filled Wheat Pancake
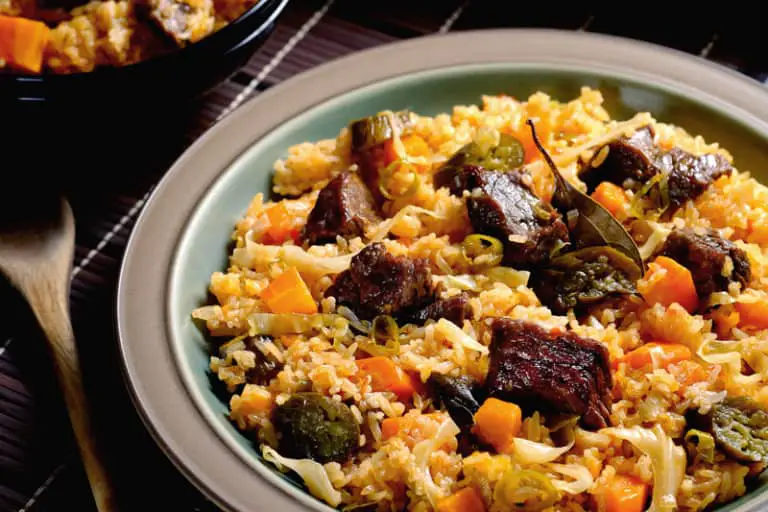
Benachin Gambian One Pot Jollof Rice
WHAT IS BENACHIN? Benachin is a traditional Gambian dish consisting of rice, vegetables, and meat, all cooked together in a single pot. It is also known as thiebou-dienne, a Senegambian special jollof rice. Benachin translates to “one pot” in Wollof, referring to its cooking method. The dish is characterized by its aromatic flavours, thanks to…
GLUTEN FREE
Unraveling the Gluten Mystery – Is Tahini Gluten Free?
Curious about tahini and its gluten content? Wonder no more! Let’s explore the question, ‘Is tahini gluten free?’ Together, we’ll uncover all you need to know about this delicious and versatile sesame seed paste.
Continue Reading Unraveling the Gluten Mystery – Is Tahini Gluten Free?
Boat Noodle Soup vs Pho: What’s the Difference?
Pho is a Vietnamese clear beef broth and is served with sliced beef and beef organs whilst boat noodle soup is a Thai based pork broth and served with pork slices.
Continue Reading Boat Noodle Soup vs Pho: What’s the Difference?
Is Miso Soup gluten free?
Due to the complexity of the Miso Soup dish, it’s hard to tell that is miso soup gluten free?
Your Complete Guide to Types of Onigiri
Explore the versatility of onigiri as we uncover the types of onigiri you should know about. Each type tells a unique story, whether it’s a plain onigiri or a creatively wrapped piece showcasing the diversity of Japanese cuisine.
How to Make the Most Splendid Smoothie Bowl Without Banana
Smoothie bowls can be healthy, but they can contain as much sugar as a couple glazed donuts. That’s one reason why some prefer their smoothie bowl without banana.
Continue Reading How to Make the Most Splendid Smoothie Bowl Without Banana
How to Make Onigiri – Recipes, Fillings, and How To Wrap
How to make onigiri with mold, or without mold, with step-by-step picture instructions. We’ll also show you how to wrap onigiri with and without onigiri wrappers.
Continue Reading How to Make Onigiri – Recipes, Fillings, and How To Wrap